Bio
A Bio page contains biographical information about a person. It can provide detailed information about a person's professional history or a general summary of the person's background. Bio pages work in conjunction with Bio Index pages to provide a directory listing of people.
Bio pages include the following features:
- Pre-defined fields for a variety of information including name, title, department and contact information
- Option to upload a photo and provide a high resolution version for website visitors to download
- Tagging ability for filter functionality
- Sidebar for website links
- Open text areas for full bio, education, research, projects and publications
- Hero and additional content area
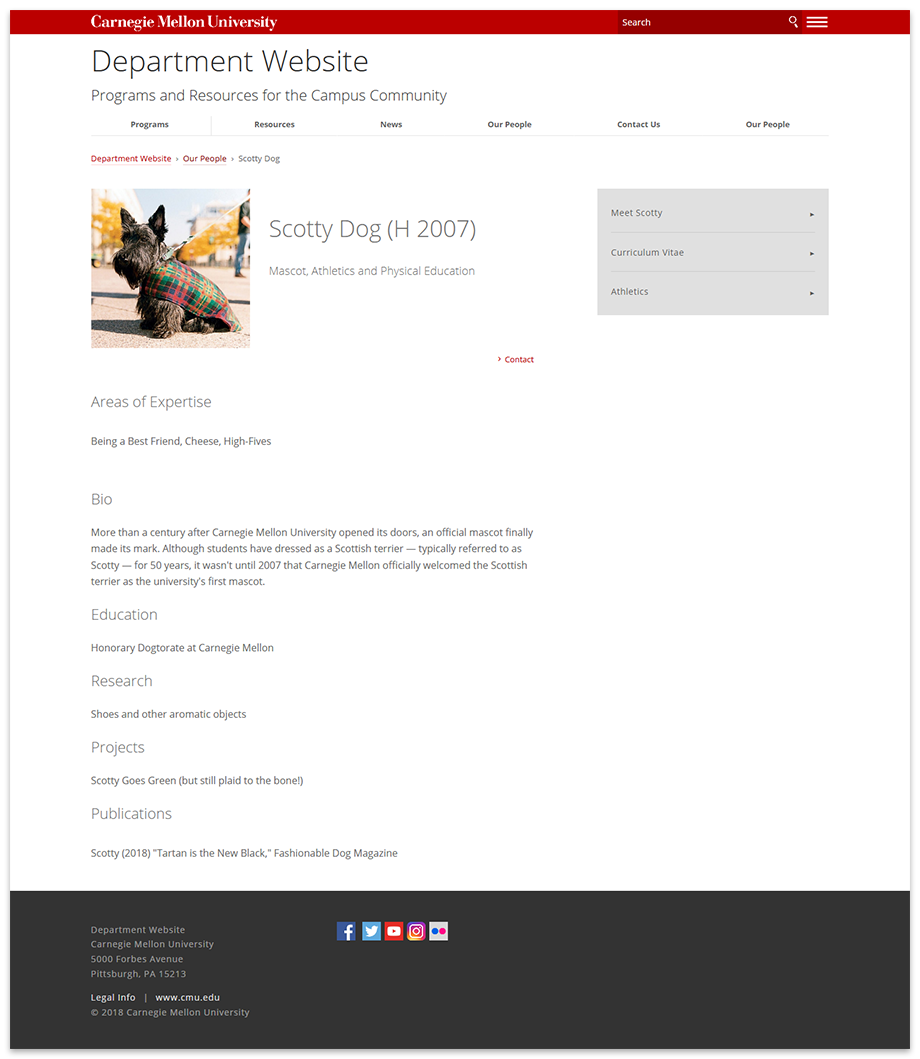
Example of a Bio page
Create a Bio Page
Ideally, Bio pages should be contained within a designated bio section on your site; if you're starting from scratch, first create a folder for your bio section.
-
Select the folder in the asset tree where you want to create the Bio page
- Click Add Content > Bio > Bio
- Complete the required information
- Page Name - Enter the system name for the page (displayed in the asset tree and live URL); follow the requirements provided in the interface
- Placement Folder - This will reflect the selected folder; click on folder to change if necessary
- Title - Enter the user-friendly name displayed in the navigation (typically the person's full name)
- Description - Enter a summary of the page; used by search engines
- Hide from Navigation - To prevent page from displaying in the navigation, leave at the default Yes; change to No to include it
- Include Hero Section (optional)
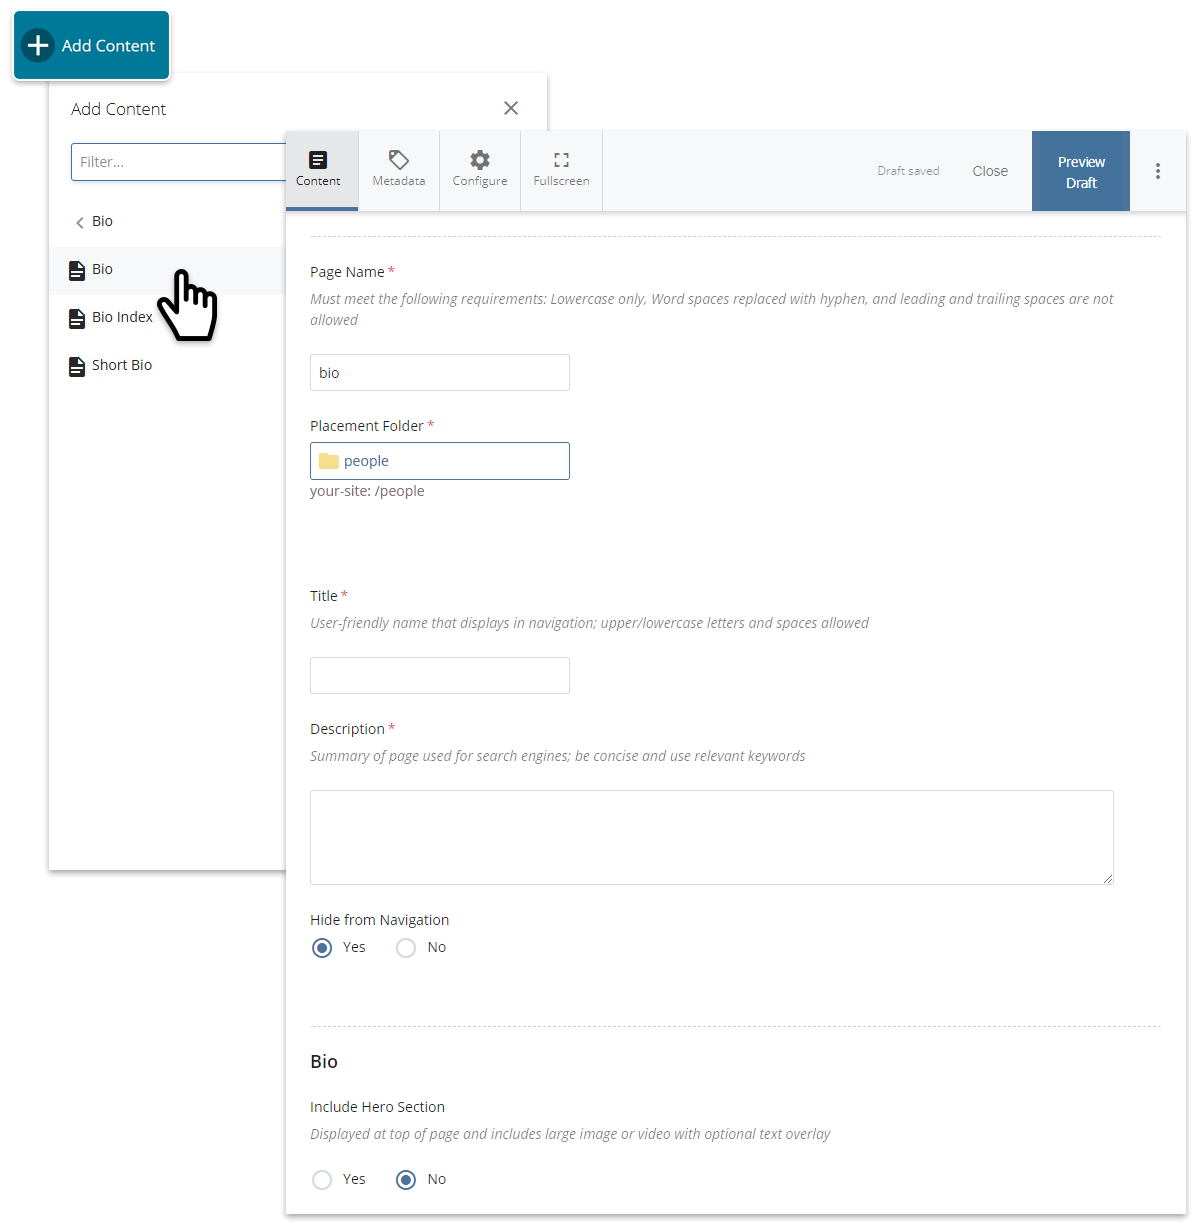
Creating a new Bio page
Syndication (optional)
Syndication provides information to Bio Index pages as well as social media when the page is shared. If syndication information is not provided, a Bio Index page will display minimal information with a generic image.
- Summary – Enter a short description of the person; overlays the photo on a Bio Index page if enabled
- Image - Choose File to browse and select a photo of the person; displays on Bio and Bio Index pages
- Social Media Image - If a different image is preferred for social media, Choose File to browse and select the image
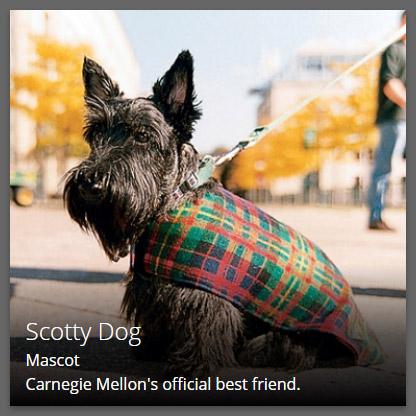
Example of syndication information on a Bio Index page when Grid layout is used
Biographical Information
- Name - Person's full name including Prefix and Suffix if applicable
- CMU Indicia - If the person obtained a degree at CMU, specify college and year; click the plus sign (+) to add another
- Image - Specify whether the syndication image (if provided) should be displayed on page
- High resolution photo - Choose File to browse and select a high resolution photo for download by website visitors (ideal for printed material)
- Title - Enter Job Title and select the Department the person is affiliated with; click the plus sign (+) to add another
- Contact Information - Enter Address, Phone, Fax and Email
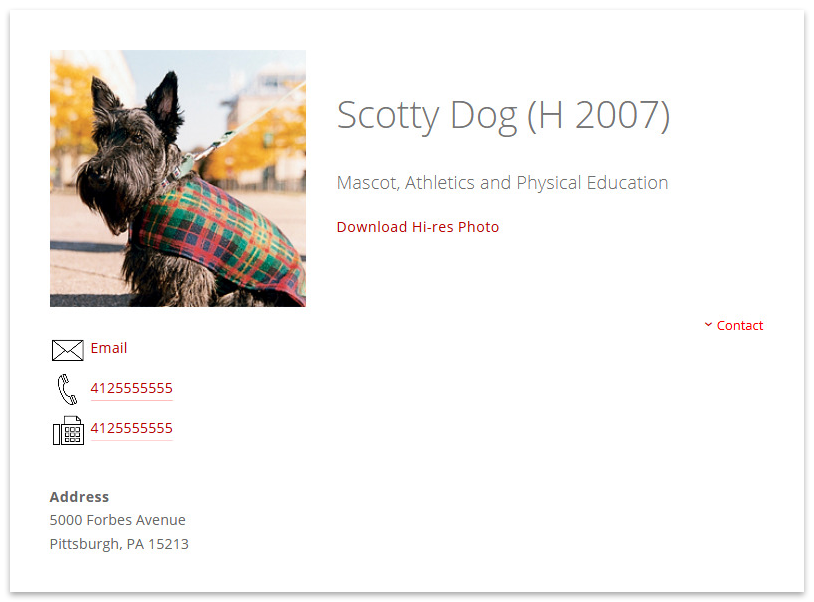
Example of basic information on page; contact information is collapsed by default and can be expanded by clicking the contact link
Page Categories (optional)
Categories allow filtering on Bio Index pages. Specify what categories the bio should be tagged with (new categories can be created in the categories block; more on categories). Click in each box to select one or more categories; to remove a category from being selected, click on it and press delete.
- General
- CMU Categories - Common categories used across CMU's websites
- Site Categories (Custom)
- Categories 1 & 2 - Categories specific to your site
- Show Categories 1 & 2 on Bio - To display the custom categories as part of the bio (see example below), select Yes for one or both
- Concentrations - Concentrations specific to your site
- Degrees - Degrees specific to your site
- Categories 1 & 2 - Categories specific to your site
Note: In addition to categories being used for filtering, you can display Categories 1 & 2 on the bio and assign a custom heading (e.g., Areas of Expertise) in the categories block.
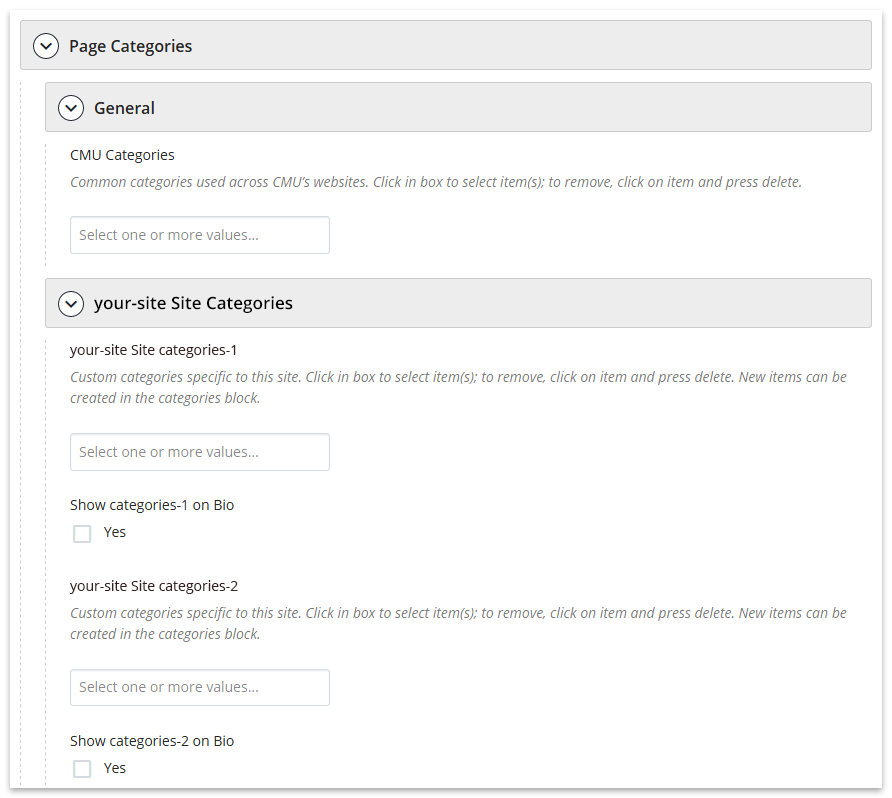
Page categories in the page edit interface
Links (optional)
Links can be provided to feature the person's social media channels, personal website, media mentions or other relevant topics. Links are added to a sidebar.
- Enter Link Text
- Choose File to browse and select a page, or URL to link to an external site or document such as a PDF. Enable Open in New Window if linking to an external site or document.
- Click the plus sign (+) to add another link, repeat steps 1-3
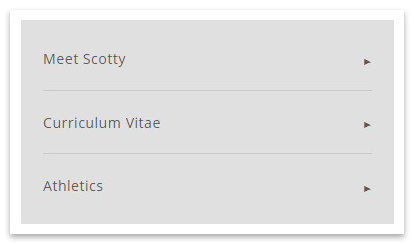
Example of links in a sidebar
Open Text Fields (optional)
The remainder of the bio contains WYSIWYGs for Bio, Education, Research, Projects and Publications. Use any or all of these fields to provide additional information as needed.
Note: Each open text field will display its respective heading, such as Education. To include other topics not covered here, use the additional content area provided at the bottom and select content type Content to add another WYSIWYG.
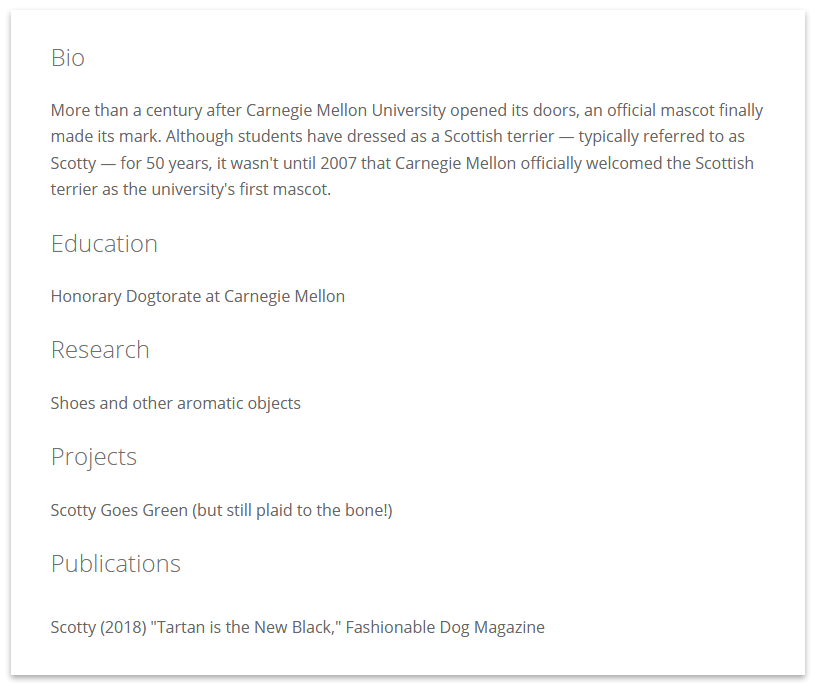
Example of open text fields on page, pick and choose which ones to use
Additional Content Area (optional)
Include a standard content area at the bottom of the page to enhance it with any of the content types (WYSIWYG, grid, slideshow, wide). Click the plus sign (+) to add another content area.
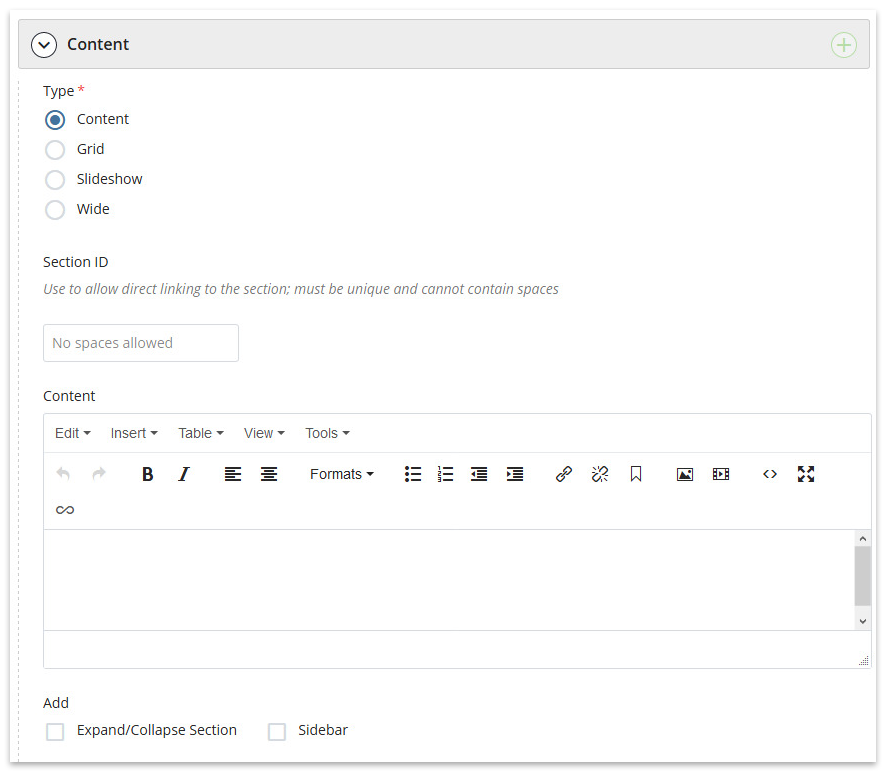
Additional content area in the page edit interface
Learn about the save options.