Dashboard
Start with CMS 101: Dashboard for an overview of the default dashboard. Provided below is a deeper dive into the dashboard elements and how to use them.
Using Widgets
Widgets are the tools provided on the dashboard that facilitate management of content, keep you abreast on tasks and alert you to notifications. The dashboard layout is customizable so you can pick and choose which widgets to use and how to arrange them.
Manage Widgets
- Add widget - The Welcome widget contains an Add Widget button; click on it for a list of widgets. Note: Not all widgets on the list are functional, see below for widgets available.
- Configure widget - Some widgets can be configured with additional settings; when hovering over these widgets, an edit icon will appear

- Rearrange widgets - Simply drag and drop widgets into place
- Remove widget - Click on the
 at the upper right when hovering over the widget
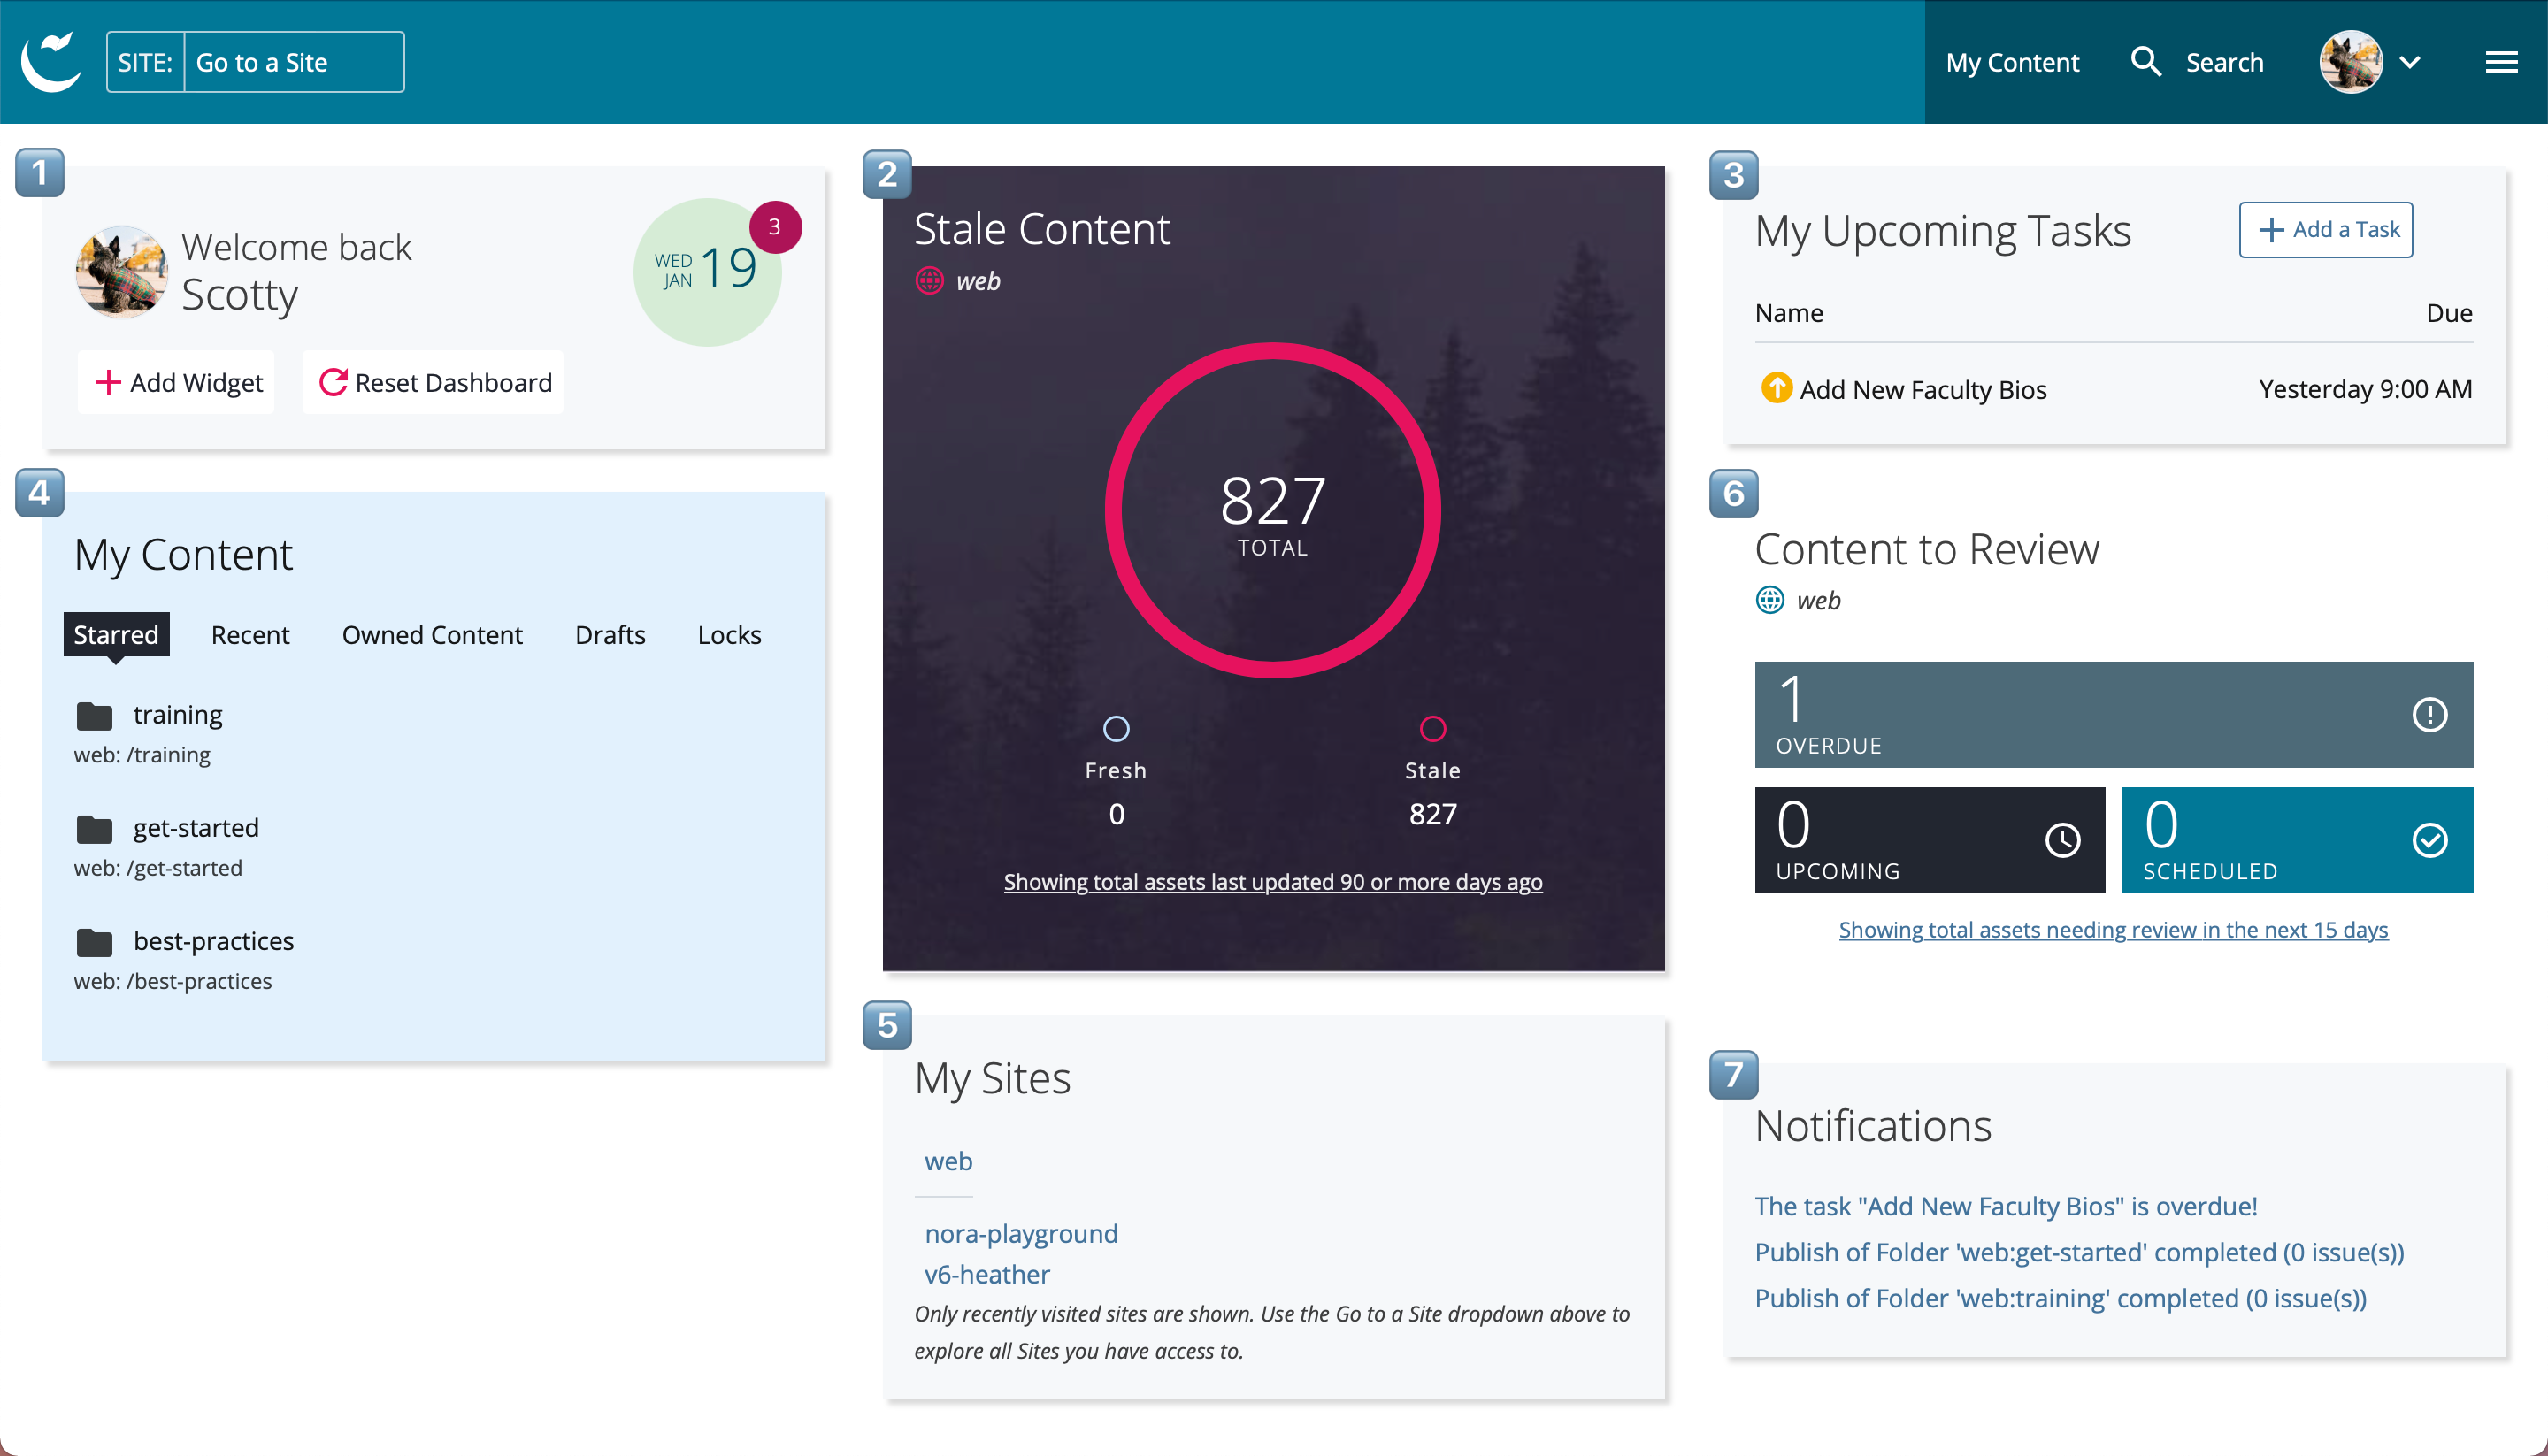
Welcome
Use the Welcome widget to:
- Add widgets to your dashboard
- View unread notifications by clicking the notification count badge (pink circle on the date)
- Reset the dashboard. Note: This reset does not revert to the default dashboard set by the University CMS Team; for the default dashboard, see CMS 101: Dashboard.
Stale Content
Keep your content fresh by monitoring assets that haven't been updated within a set time period. Each Stale Content widget must be configured with a specific site; add multiple widgets for additional sites.
Configure the Settings
- Edit the Stale Content widget
- Select a site to monitor
- Specify a time period in which to consider content to be stale (e.g., content last updated more than 60 days ago)
- Specify whether to only include content that you own (i.e., content created by you)
- Save settings
Tip: A Stale Content report is accessible in the Hamburger Menu under Reports.
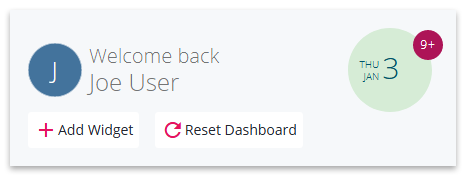
My Upcoming Tasks
Your "to do" list in the CMS.
- Create tasks to remind yourself of action items to be completed
- Create tasks and delegate to other website managers
- Share tasks with others to participate
- Collaborate with others using the communication tools provided
More on tasks.
My Content
Quickly access assets including:
- Starred - Assets that were starred for quick reference
- Recent - Assets you recently viewed
- Owned Content - Assets you own (typically the assets that were created by you). Asset ownership can be found in the Action Toolbar under Details > Properties.
- Drafts - Assets that are works in progress (i.e., edits were made but not committed with a submit); more on drafts
- Workflows - Non-functioning
- Locks - Assets which are locked and can only be edited by you; more on checking out/locking an asset
Tips: Your content is also accessible by clicking on My Content in the Main Toolbar. A Content Ownership report is accessible in the Hamburger Menu under Reports.
My Sites
Sites you've recently visited will be listed; click any of them to switch into the site. To select a site not listed on the widget, use the Site Selector in the Main Toolbar.
Tip: You can select a default site in the User Menu under Settings and the site will always be at the top of the list.
Content to Review
Review dates can be set on assets to ensure content is always up-to-date; this widget will display review tasks that are overdue, upcoming and scheduled. Each Content to Review widget must be configured with a specific site; add multiple widgets for additional sites.
Configure the Settings
- Edit the Content to Review widget
- Select a site to review
- Specify a time period in which to display content due for review (e.g., content due for review in 14 days)
- Specify whether to only include content that you own (i.e., content created by you)
- Save settings
Set a Review Date on an Asset
There are several ways to set a review date on an asset:
- Right-click on the asset in the asset tree > Schedule Review
- Select the asset in the asset tree > ••• More > Schedule Review
- Edit the asset, click on the Metadata tab scroll to Review Date
Tip: A Content Up for Review report is accessible in the Hamburger Menu under Reports.
Notifications
Your most recent notifications, including:
- Publish Reports - Every publish job is recorded as a notification with a record of its success or failure; more on publishing. Internal broken links are also included in publish reports; more on checking links.
- @username Mentions - Each time you are mentioned in a comment (i.e., another user mentions you by using @username), you will receive a notification. More on @username mentions.
- Tasks - When a task assigned to you is overdue, you will receive a notification; more on tasks.
A link to View All Notifications is available at the bottom of the widget with options to mark as read, delete, and search.
Tip: Your notifications are also accessible in the User Menu under Notifications.
New Content
Create new assets directly from the dashboard by clicking on any of the asset types displayed. Each New Content widget must be configured with a specific site (click on the Edit icon to select a site; add multiple widgets for additional sites).
Note: The only page which can be created using the New Content widget is the Standard Page; to create the special page types, select a site and use the Add Content button in the Main Toolbar.
Non-Functioning Widgets
The widgets below are not functional, however alternate options are available.
- Analytics: Pageviews & Unique Visitors - Analytics data can be obtained through other tracking methods; more on web analytics.
- Link Checker - Alternate methods to check for broken links are available; more on checking links.
Manage Tasks
A task is an action item to be performed in the CMS, such as replacing an image, publishing an asset, proofreading content or selecting news articles for a Hero rotator. The My Upcoming Tasks widget provides a method of setting tasks and collaborating on them with others.
Follow the instructions below to use tasks to help manage a site.
Tip: For a more detailed review of your tasks, select Tasks in the User Menu. You will have options to view tasks assigned to you, created by you, those that you are participating in and those that have been completed. You can also search for tasks and add new ones.
Add a Task
- Click on Add a Task in the upper right of My Upcoming Tasks widget
- Enter a relevant Name for the task (e.g., Update news articles in Hero rotator)
- Enter a Description with additional instructions
- By default, you are the Assigned User; to assign task to another user, click on your user name and use the chooser to change the User Assignment
- Specify the Priority of the task
- Specify the Due Date of the task
- Using the chooser, specify Related Content task should be performed on
- Click Create; the task will appear in the My Upcoming Tasks widget
- Additional actions can be performed using the Action Toolbar; click on a task in the widget, then:
- Edit the task to modify it
- Resolve the task when completed
- Delete the task if no longer needed
Collaborate on a Task
After a task has been created, the ability to collaborate on the task with others is possible by clicking on the task in the widget.
- Participants - The task can be shared with additional users by using the chooser and selecting other users; the task will then appear on their My Upcoming Tasks widget
- Comments - A dialog can be established between participants of the task using the comments feature:
- Enter comments into the box; to mention a specific user, use the @username feature; click Post Comment
- Hover over a previous comment for additional actions including Reply, Resolve and Delete
- Enable Show Resolved option to display all comments in the thread including those that have been resolved
@username Mentions
Mentioning another user in comment fields using the @username feature allows you to send them a notification to alert them of the comment; simply enter @username (use Andrew ID in place of username) and a list of users will be provided to select from. The mention will appear in the user's Notifications widget and they will also receive an email.
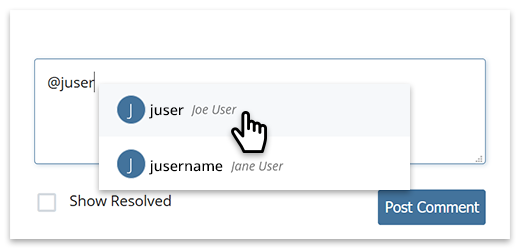
Where to Use @username
- Asset Comments - Every asset has a comments feature; select the asset in the asset tree, then select Comments in the Action Toolbar. Leave a comment and include @username to make an inquiry or request regarding the asset.
- Task Comments - Collaborating on tasks usually requires discussion between participants. Leave a comment and include @username to facilitate back-and-forth communication; more on tasks.
- Version Comments - While editing an asset, the option to leave a custom comment is part of the submit process. Leave a comment and include @username to notify others of the edit you made.
Note: Any time a comment is left on an asset, the owner of the asset will receive a notification regardless if they were @username mentioned or not.