Bio Index
A Bio Index page serves as a directory of your Bio pages. It automatically populates with content by pulling in fields from each bio such as name, photo, job title and summary.
A Bio Index page includes the following features:
- Grid or stacked layout options
- Jump menu with links to different sections on the page
- Filter functionality for you and your website visitors
- Multiple bio sections featured on a single page with ability to assign a different category to each section
- Hero and additional content area
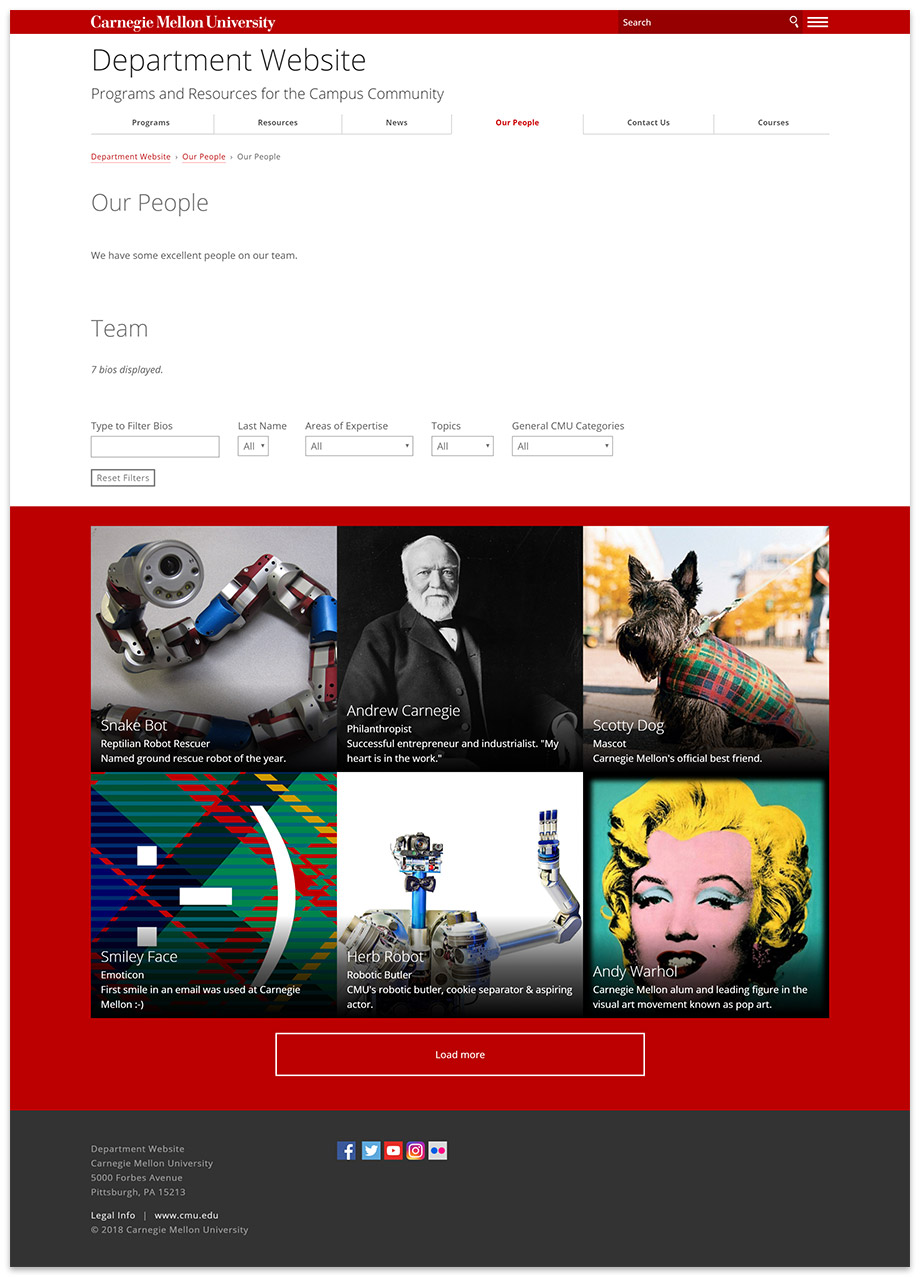
Example of a Bio Index page.
Create a Bio Index Page
Before creating a Bio Index page, establish the bio section and create the initial Bio pages. Create the Bio Index page in the same folder.
Note: a Bio Index page will only include Bio pages that are in the same folder or in a sub-folder of where the Bio Index page resides. Please keep this in mind when establishing your bio section.
-
Select the folder in the asset tree where your Bio pages are located
- Click Add Content > Bio > Bio Index
- Complete the required information
- Page Name - Enter the system name for the page (displayed in the asset tree and live URL); follow the requirements provided in the interface. Note: The page name is typically index.
- Placement Folder - This will reflect the selected folder; click on folder to change if necessary
- Title - Enter the user-friendly name displayed in the navigation (e.g., Our Team, People, Faculty, etc.)
- Description - Enter a summary of the page; used by search engines
- Hide from Navigation - To prevent page from displaying in the navigation, change to Yes; leave at the default No to include it
- Social Media Image (optional) - To use a different image for social media other than the one specified in the setup, Choose File to browse and select the image
- Include Hero Section (optional)
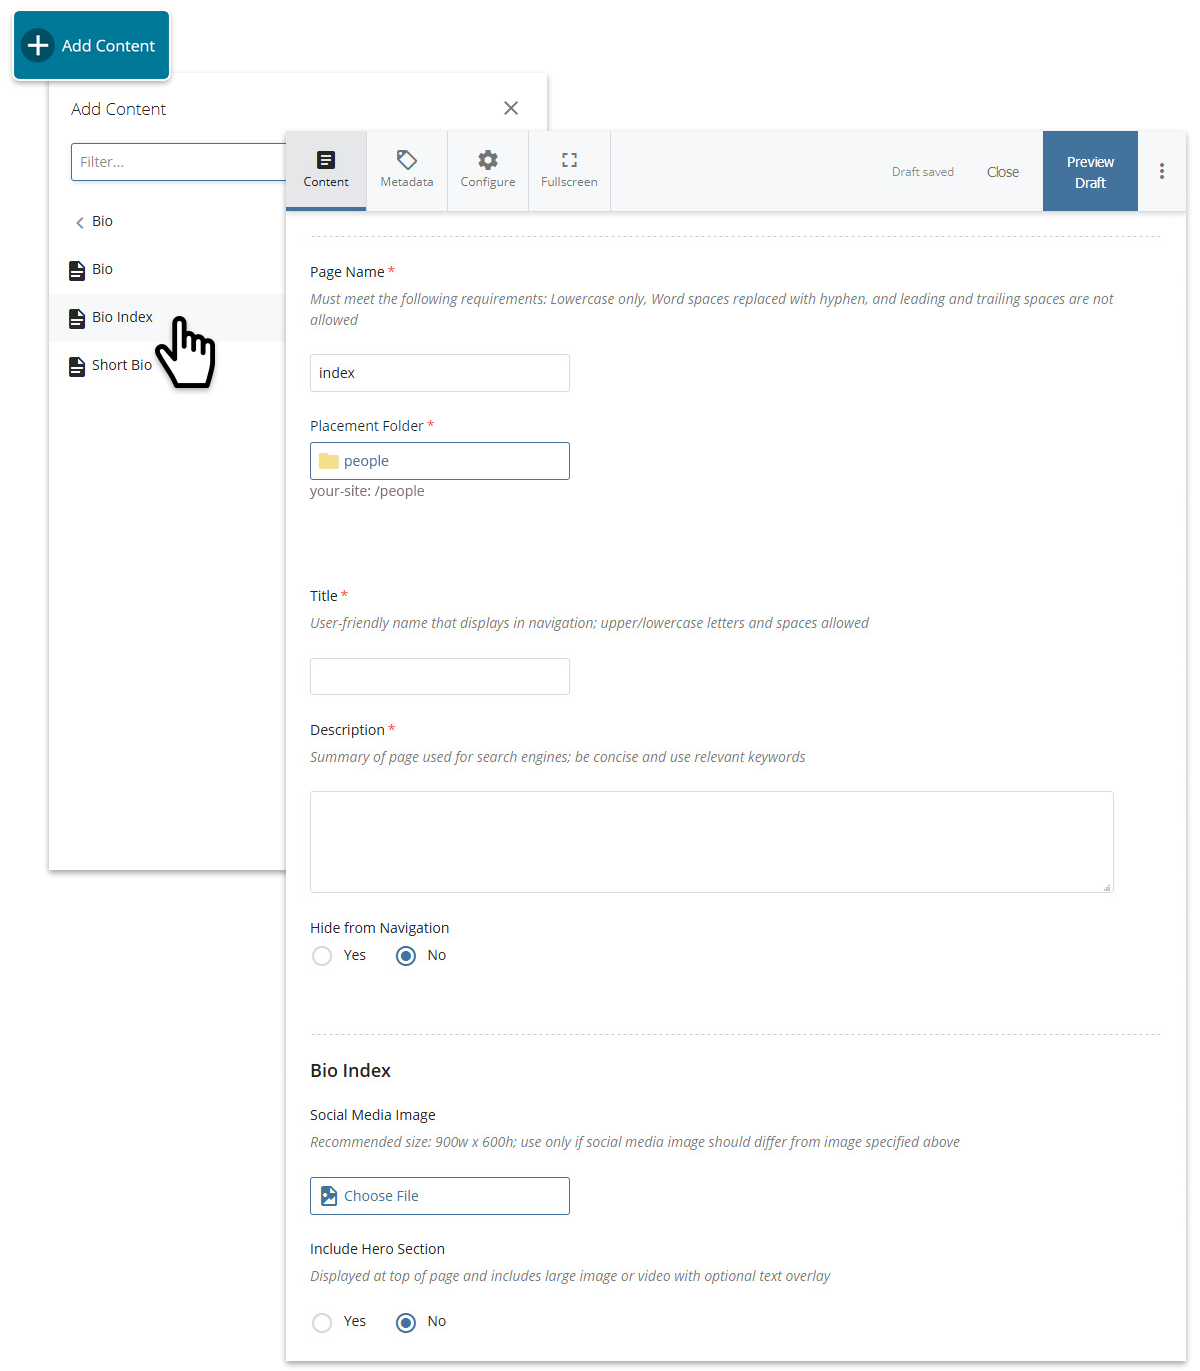
Creating a new Bio Index page.
Intro Text and Jump Menu (optional)
- Intro Text - In the WYSIWYG, provide an introduction for the bios featured on the page
- Jump Menu - Select Yes to provide links in a sidebar to different sections on the page (must configure Section ID fields for each section); ideal when bios are displayed in groups using categories
- Select a Style

Example of Intro Text and Jump Menu on page.
Bio Index Layout
Bios can be displayed in a Grid or Stacked layout. Select the one that best suits your needs.
Grid
- For Select a bio layout select Grid
- For Type select Photo or Card
- Select the Number of Columns
- Select the Initial Rows to Display
- Enter a Heading and Grid ID (used to configure the Jump Menu if used)
- Select a Style and Background Image (optional)
- Select whether to Show bio titles and Show bio summaries
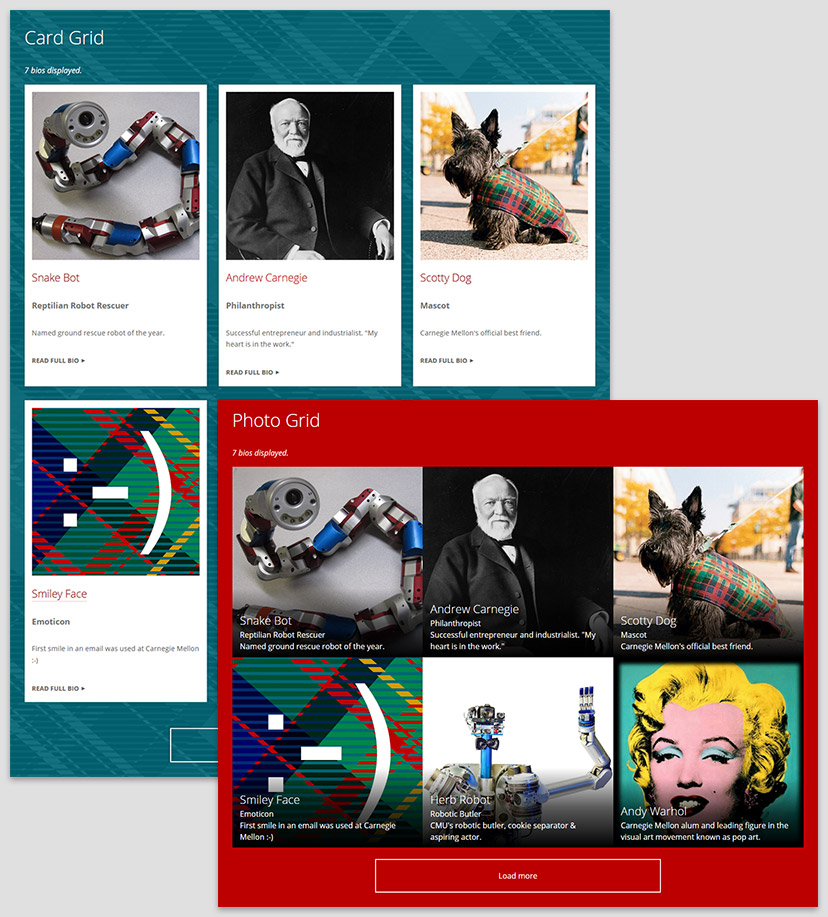
Examples of bios in a Grid layout (Photo [forefront] or Card); eexamples are configured with three columns and two initial rows; a "Load more" button will display if more bios are available.
Stacked
- For Select a bio layout select Stacked
- Enter a Heading (optional) and Grid ID (used to configure the Jump Menu if used)
- Select what to show (Photo, Title, Mailing Address, Office, Phone, Fax, Email, Links)
- Specify whether to Collapse Bio and below regions (initially hidden with link to expand content)
- Select additional bio information to show (Bio, Education, Research, Projects, Publications)
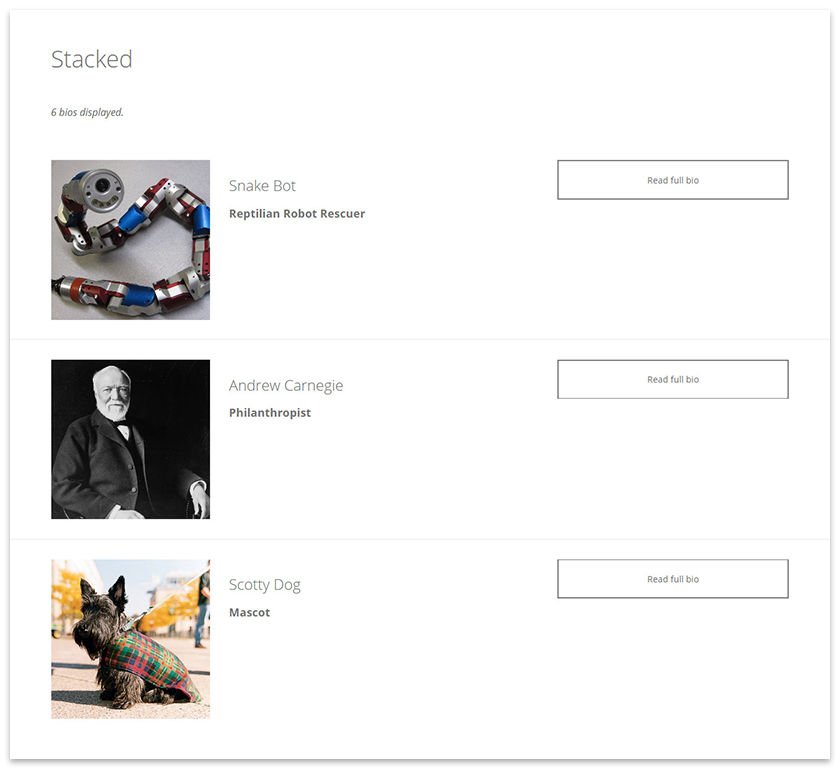
Example of bios in a Stacked layout.
Filters (optional)
Filters allow you to be selective about what bios to display on the page. Bio pages must be tagged with the categories selected here in order to be included (new categories can be created in the categories block; more on categories). If no filters are specified, all bios within the folder and its subfolders will be included.
Select Yes to enable the filter you want to use, then click in the box to select one or more categories; to remove a category from being selected, click on it and press delete.
- General
- CMU Categories used on your bios
- Site Categories (Custom)
- Categories 1 & 2 - Categories specific to your site
- Concentrations - Concentrations specific to your site
- Degrees - Degrees specific to your site

Filters in the page edit interface.
Dropdowns (optional)
Dropdowns allow further filtering of bios by your website visitors. Dropdowns are provided at the top of the page and instantaneously adjust the content based on the selection (i.e., the page does not have to reload). More on dropdowns.
- General
- CMU Categories used on your bios
- Specify a custom Dropdown Label; used on this page only
- Last Name
- CMU Categories used on your bios
- Site Categories (Custom)
- Categories 1 & 2 - Categories specific to your site
- Concentrations - Concentrations specific to your site
- Degrees - Degrees specific to your site

Example of dropdown menus for website visitors; in the example:
- Areas of Expertise and Topics are custom site categories 1 & 2; categories and dropdown labels for these are specified in the categories block
- General CMU Categories are pre-defined categories available to all sites, however only the ones used on your bios will be available in the dropdown. The dropdown label can be customized on this page.
Add Another Bio Index Section (optional)
Want to feature another section of bios on the page? Click the plus sign (+) near the main section label of an existing Bio Index section and repeat the steps above.
Tip: By using filters you may create multiple Bio Index sections on a page and feature a different group of people for each.

Additional Content Area (optional)
Include a standard content area at the bottom of the bio to enhance the page with any of the content types (WYSIWYG, grid, slideshow, wide). Click the plus sign (+) to add another content area.
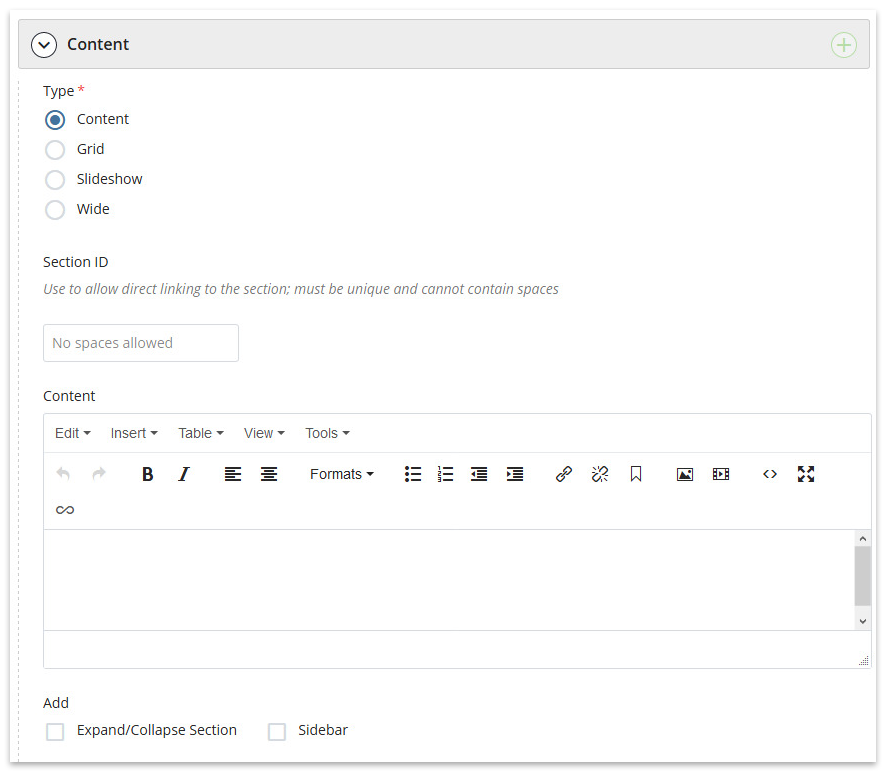
Additional content area in the page edit interface.

Learn about the save options.