Whose Blood is it?: Procedure
Each kit contains three blood samples to type, one from the injured man (the victim), one from the neighbor, and one from the neighbor's car. Determine the blood type of each sample and decide whose blood was in the car.
- Put on gloves and safety glasses.
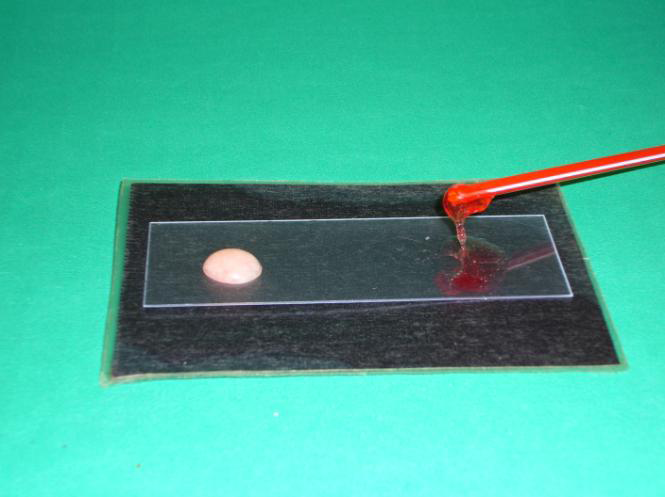
- Lay a microscope slide over the two circles labeled anti-A and anti-B on the test form. Place 1 drop of anti-A and 1 drop of anti-B on the microscope slide on their respective circles.
- Add 1 drop of the blood sample being tested to each drop of antibody on the microscope slide.
- Mix each with a toothpick within their respective circles. Continue to stir for 30 seconds or until agglutination (clumping) is observed.
- Check each circle for signs of agglutination. For the Anti-A test, examine the drop for small crystals. Use a magnifying glass if needed. The drop will look cloudy. Use a piece of black paper to observe the white crystals more easily. Their presence means a positive test. For the Anti-B test, a positive test occurs when the drop becomes cloudy and thick (gel like).
- Record your results on the test form.
- Discard the toothpicks. Rinse off the microscope slide with water. Dry it and repeat the tests for the other samples.
- Check your results with those in Table 2 to determine the blood type of each sample.
Whose blood was in the car? Should the neighbor be arrested?
See the Blood Typing Test Form [.pdf].
CLEAN-UP
Rinse off the microscope slide with water and wipe off any remaining crystals. Then dry it.