Using Zoom via Web Browser
Zoom is a videoconferencing technology that you can use to run online class sessions. Schedule your class session and provide students with a link to join. Present course content, hold live discussions, use breakout rooms for group work, use a shared whiteboard, and more.
There are multiple ways you can set up Zoom meetings for your online class, including:
- through your Canvas course (RECOMMENDED)
- via a web browser (steps described below)
- by downloading and using the Zoom desktop application
Here we will describe the steps for how to use Zoom via the web browser.
Start by logging into cmu.zoom.us with your andrew credentials.
- Set up a Zoom meeting to hold your online class sessions.
- Give your students the Zoom meeting link details.
- Run your Zoom class session: some tips.
- Provide students in your class with access to the recorded Zoom class session.
1. Set up a Zoom meeting for your class session(s):
- Visit cmu.zoom.us
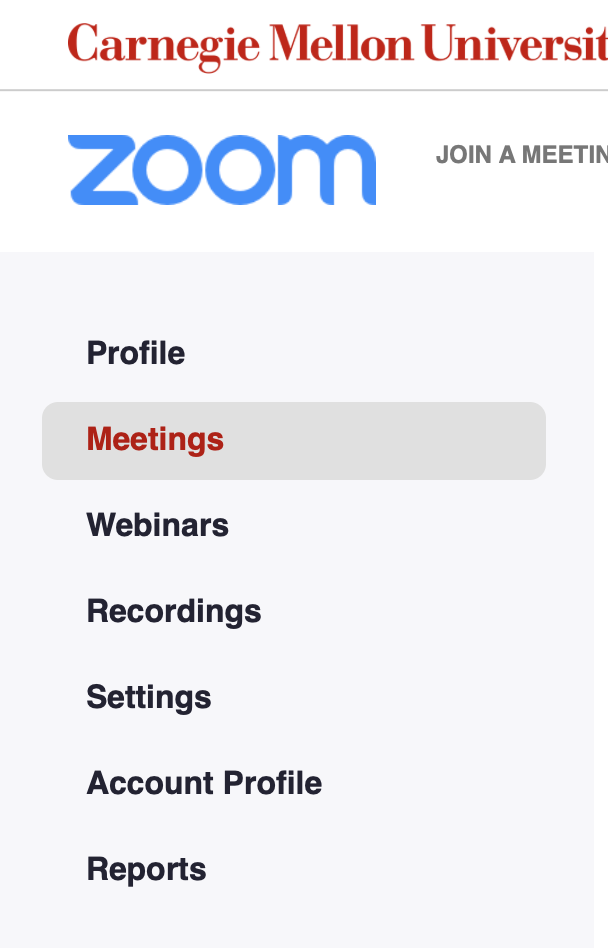
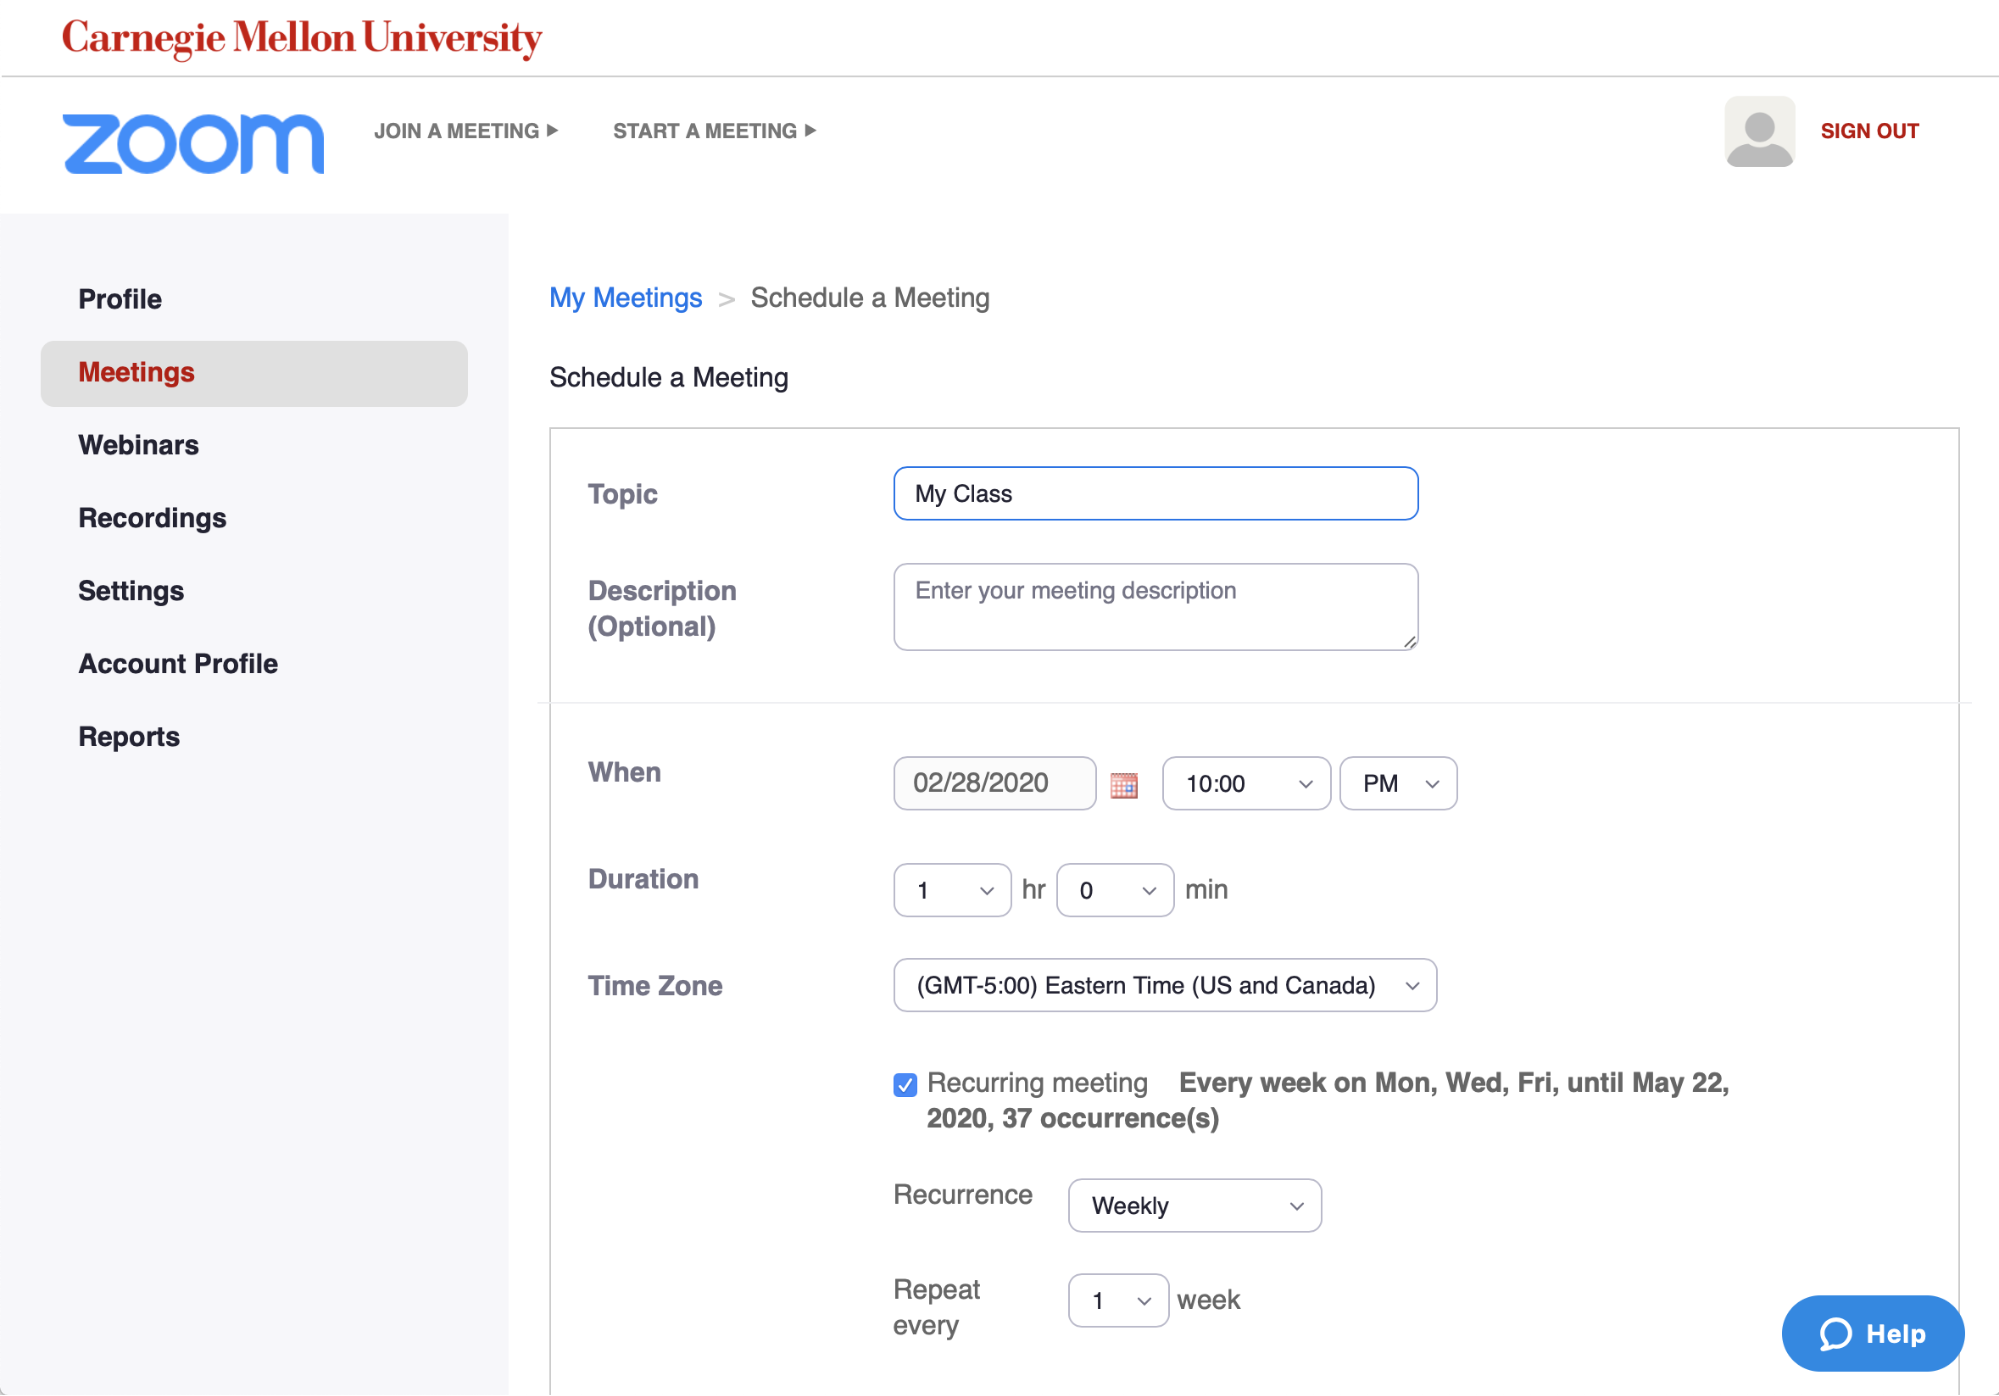
- Click “Sign In” and then click “Meetings” in the navigation to schedule your distance classes.


- Under “Topic”, enter the name of your course.
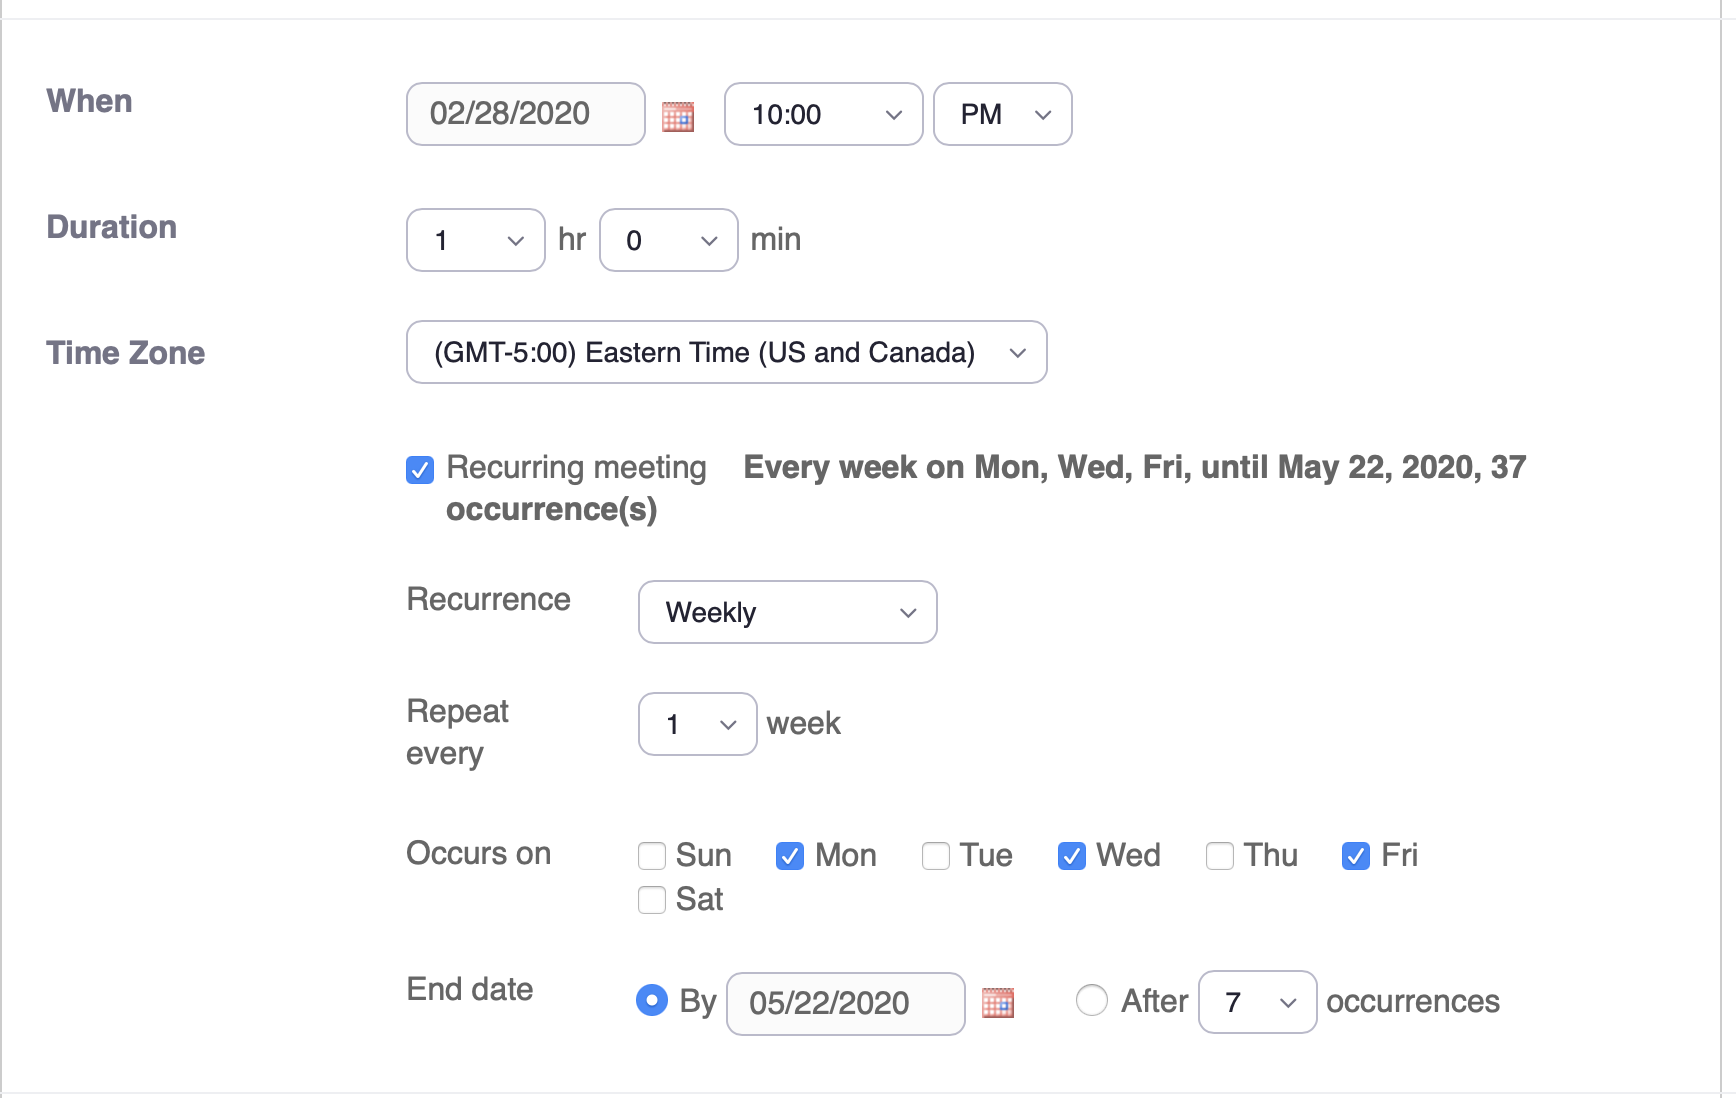
- Select the date of your first class and the class duration.
- Select the “Recurring Meeting” option and then select “Weekly” and the days of the week when your class runs.
- Select the end date of your class.
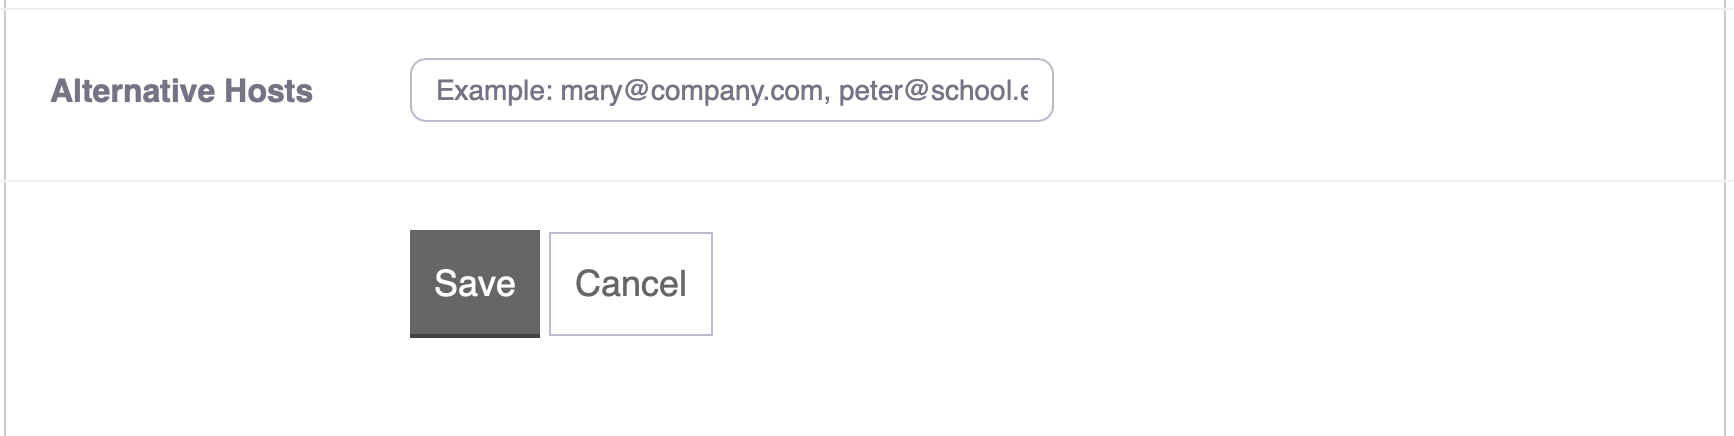
- Select these additional Meeting Options:
- Select “Enable join before host”
- Select “Mute participants on entry”
- TO RECORD YOUR CLASS SESSION: Select “Record the meeting automatically” (if you want to record the class and make the video available for students who were unable to attend). You can select to save the Zoom session recording on "your local computer" or "in the cloud (recommended)."
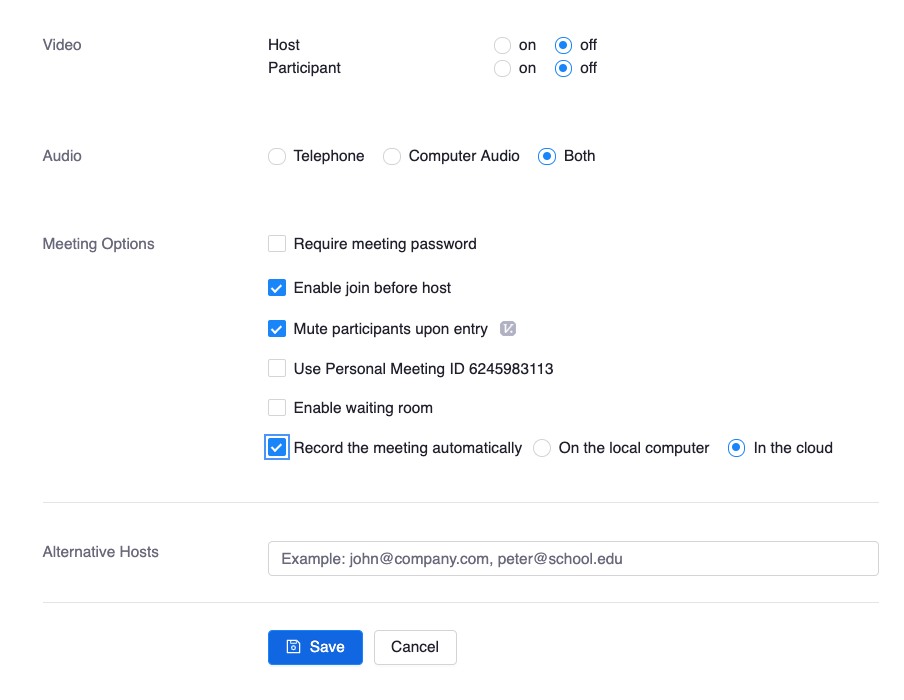
- Then click “Save.”
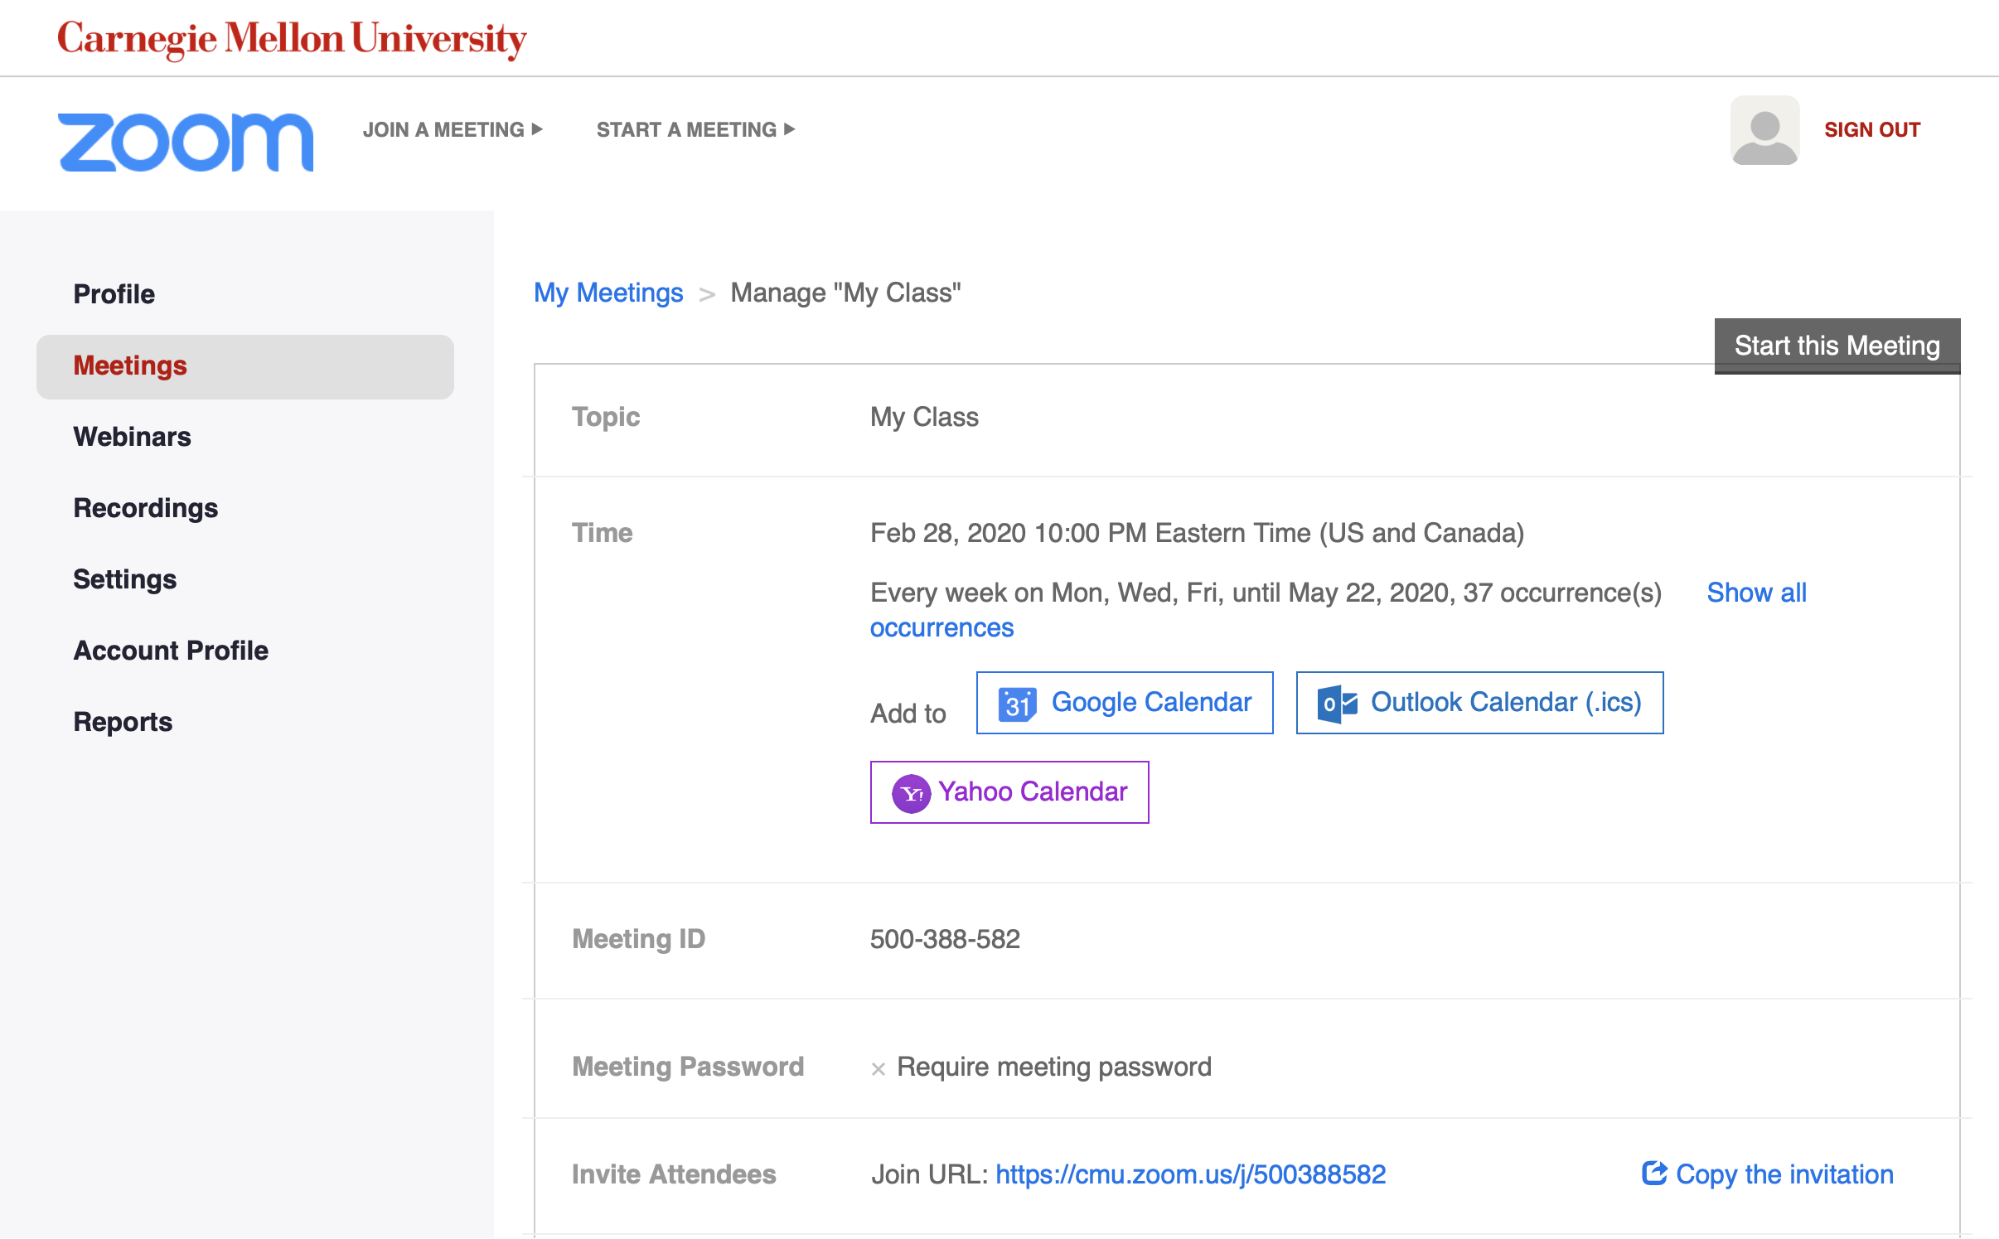
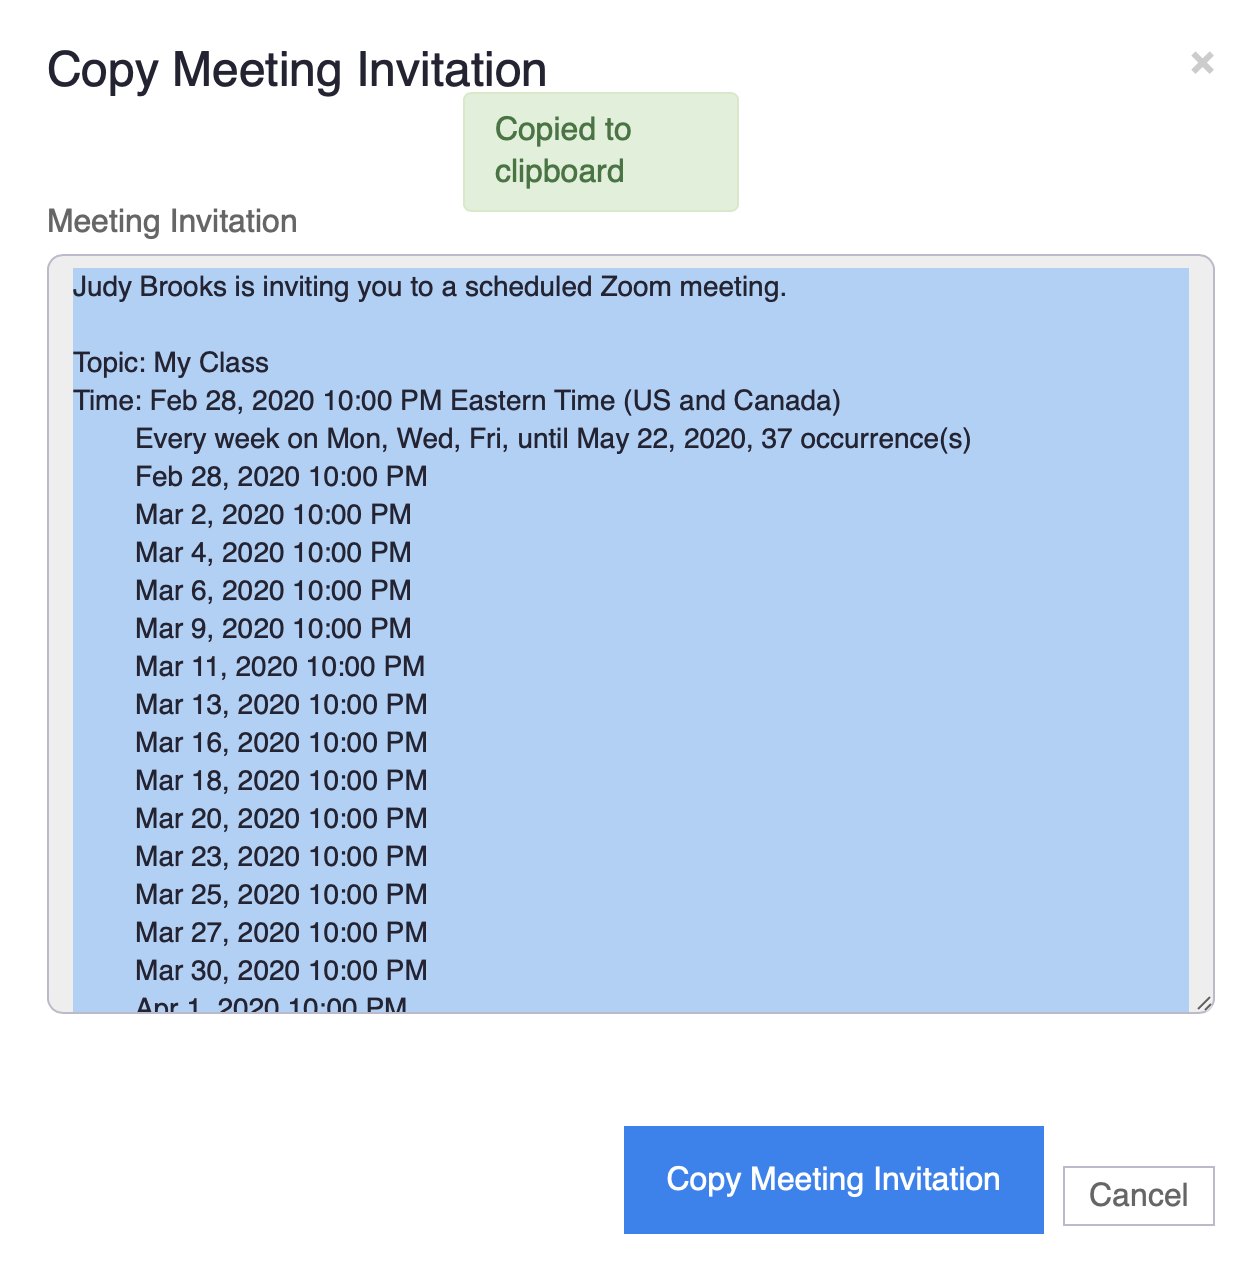
Now you can copy the meeting “invitation” and provide students with the invitation details.
2. Give your students the Zoom meeting link details.
![]()
Click on “Copy the invitation” to copy the meeting details to your clipboard, then paste this information into your Canvas course.
3. Run your Zoom class session: some tips
A. Create the conditions for clear communications and reduce distractions.
Manage your bandwidth:- If you or your students experience bandwidth issues, consider the following adjustments: turn off video, use audio and screen sharing only, use audio only, use text chat only.
- Use headphones and ask your students to do the same (when possible) in order to eliminate audio feedback and extraneous sounds.
- Use a private space without distractions to conduct and participate in Zoom class sessions (and ask your students to do the same if they can).
- Ensure that your physical space has good lighting if you will be on camera/using video.
- When teaching, build pauses into your lecture to create room for active learning by asking questions and responding to students' questions.
- Consider using Zoom's Chat and/or Screen Sharing functionality during class sessions and/or for running virtual office hours.
- Consider using Zoom's polling functionality (e.g., get a read on students' current understanding of a particular concept; have students take a position on an issue being discussed or make a prediction based on some data).
4. Provide students in your class with access to the recorded Zoom class session
- If you have decided to save Zoom session recordings to the cloud (recommended), then you will be able to go back into your Zoom meetings and find the recordings. Once the recording has processed, you will have access to a link to the recording that you can provide to students in your class (e.g., by copying it into your Canvas course and making it available to them).
- If you have decided to save Zoom session recordings to your laptop, you can upload these into Canvas to provide access to students in your course.
WARNING ABOUT FILE UPLOAD LIMITS OF 500MB:
1. If you upload a file larger than 500MB, use the Canvas "Files" area so that you do not run into the 500MB file size limit block. Note: larger file sizes will take a while to upload.
2. If you try to upload video files using the text editor "media" tool, the file size must be less than 500MB.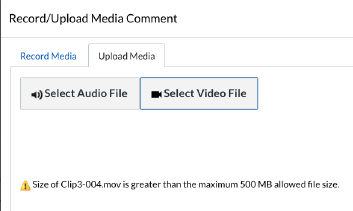
Alternatively, you can use your CMU Box or CMU Google Drive spaces to store, set permissions to specific people (i.e., only students in the class), and embed videos into your Canvas course.
For support teaching with and using Zoom: eberly-assist@andrew.cmu.edu
Contact Us for Canvas and Ed Tech Support:
![]() eberly-assist@andrew.cmu.edu
eberly-assist@andrew.cmu.edu
![]() 412-268-9090
412-268-9090