How to: Record and Post Instructional Video
There are a variety of methods and tools to help you create instructional video in an interactive, effective and engaging. In the next section we have provided some resources to get you started.
Canvas Video Recording
Create a Space to Record
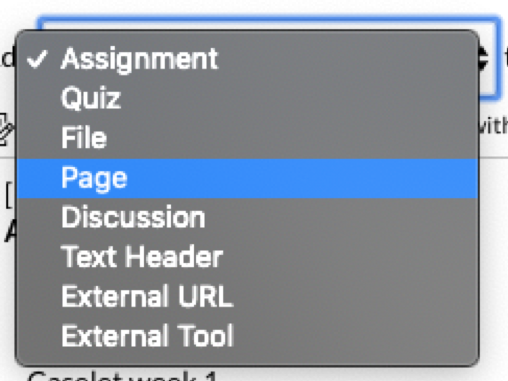
To record a video through the Canvas interface you will first need to create a new page by clicking on the + button and selecting ‘page’ from the dropdown menu.
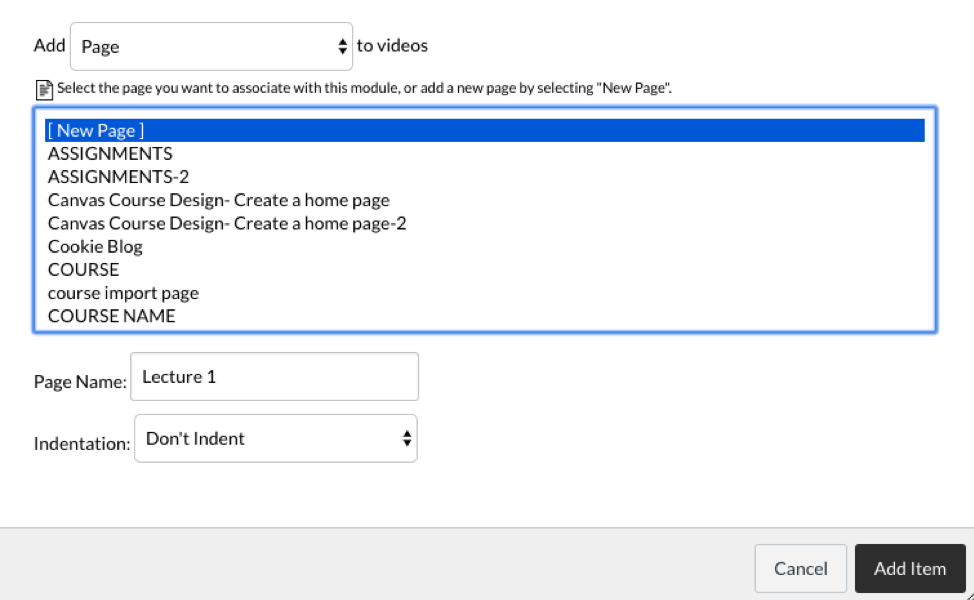
Choose [New Page] and add a page name, then select the Add Item button.
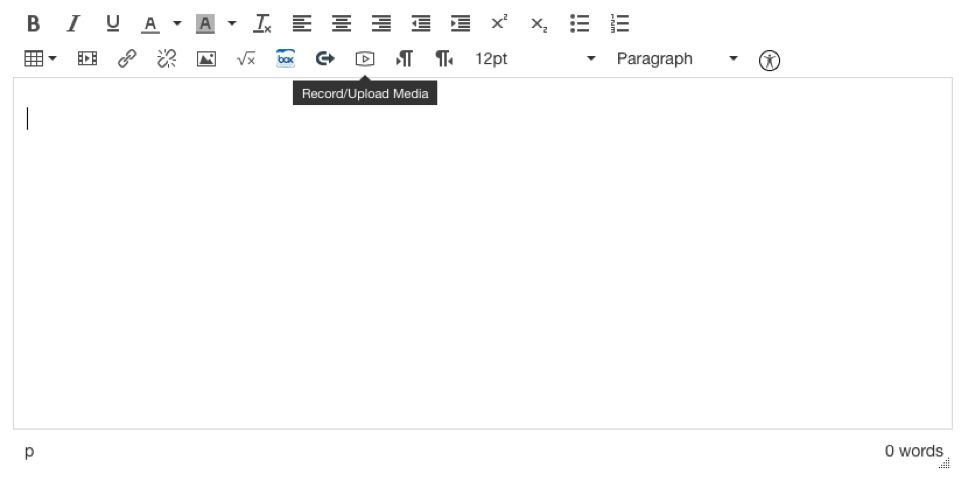
On your new page, click within the content box to begin editing. Select the Record/Upload media icon.
Record your Media
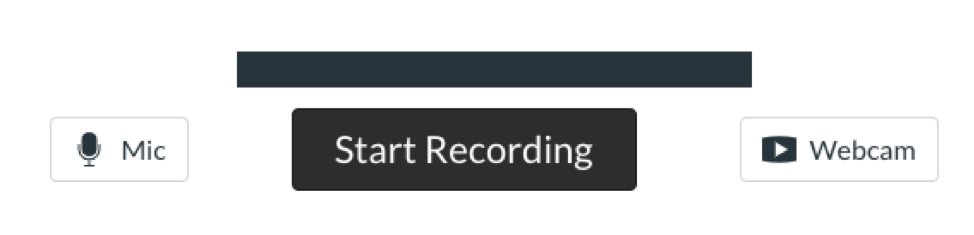
Click on the Start Recording button and choose Webcam to begin recording your lecture.
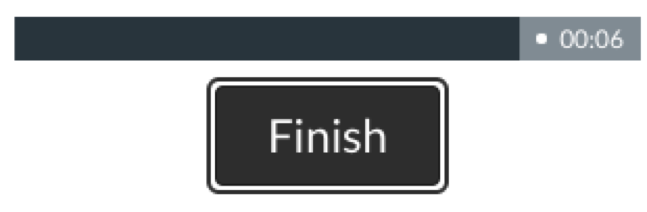
When your lecture recording is complete, click the Finish button to end recording.
Preview your recording then give your lecture video a name and click the save button.
Your recorded lecture will appear in your content area and the page is ready to be published for your students to view.
Camtasia Recording Basics
Record the Screen
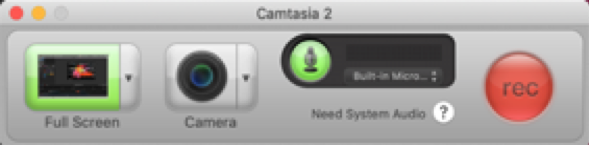
To start a recording, click the Record button at the top of the tools panel.
Customize Recording Settings
Choose to record the full screen or select a custom region by using the drop down arrow.
Then choose a specific microphone or webcam by using the down arrow or double arrows next to each.
Click rec to begin.
Finish Recording
(Windows) Click the Camtasia recorder icon in the taskbar > stop button.Tip: Press “F10” to stop a recording, or “F9” to pause/resume a recording.
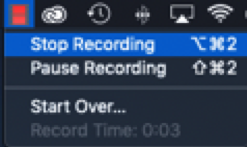
(Mac) Click the Camtasia icon in the Apple menu bar > Stop Recording.
Tip: Press “CMD+OPTION+2” to stop a recording, or “CMD+SHIFT+2” to pause/resume a recording.
Edit on the Timeline
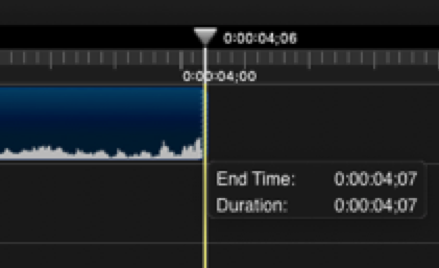
Trim the Recording
To remove extra content from the beginning or end of a clip, drag the end of the clip “in.” If too much is removed, drag the clip back to restore the video.
(Any edits made on the timeline won’t affect the original recording in the media bin)
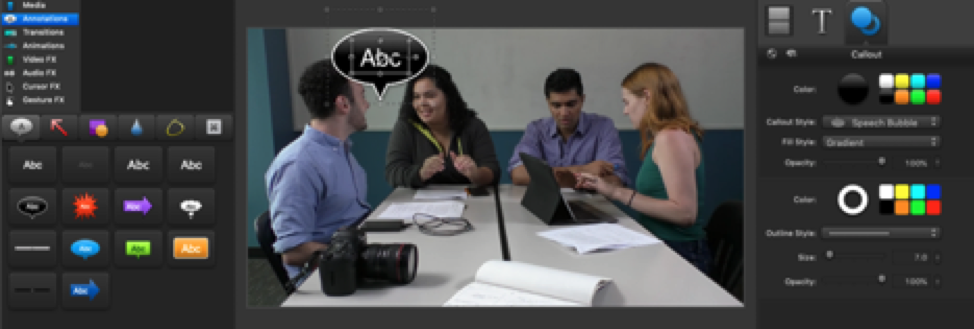
Add Titles, Annotations, and Effects
Click and drag the title or effect from the tools panel to the timeline, then edit on the stage.
Save and Share
To finish and share the video, click the share button in the top menu bar, then choose export to name the file and create an .mp4 video file. Other options under the share tab include uploading the video straight to youtube or google drive.Using a Smartphone to Record Video
In addition to using your laptop to record and post video lectures or announcements you can also quickly add video to your Canvas course by downloading the Canvas Instructor App.
Once the app is downloaded to your phone you can login using your Andrew credentials and begin posting videos. Areas that allow mobile video recording, such as announcements, can be populated by following these steps:
- Select the course
- Click on the announcements module
- Choose the + button to create a new announcement
- Click the add attachment icon and + button
- Choose from the menu to record video, record audio, or upload a file.
If Zoom is already enabled in your Canvas course you can access it on your smartphone through the Canvas menu or the Zoom App. See our Zoom how-to documentation for more information.
Best Practices
Contact Us for Canvas and Ed Tech Support:
![]() eberly-assist@andrew.cmu.edu
eberly-assist@andrew.cmu.edu
![]() 412-268-9090
412-268-9090