Record Lecture using Zoom
Local recording allows users to record meeting video and audio locally to a computer. The recorded files can be uploaded to Canvas or a file storage service like Box, Google Drive, or a streaming service like YouTube.
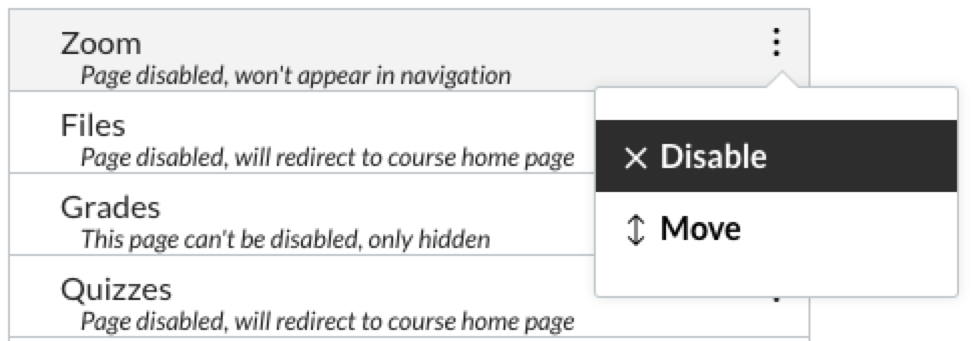
Enable Zoom
Begin by clicking on settings, then navigation. Locate Zoom in the list, click the three dots on the right, and select enable.
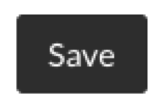
Then click the save button at the bottom of the page.
Setup Zoom for Recording
From your Canvas menu, click Zoom to access the Zoom interface then select the Schedule a New Meeting button to begin.

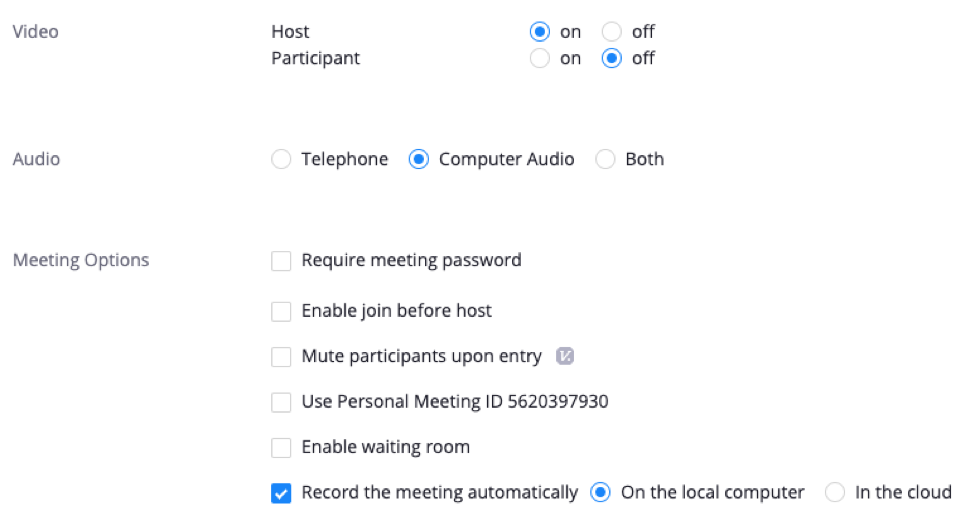
Enter your meeting settings, paying special attention to the video, audio, and meeting options. To record your lecture, enable Host and computer audio from the options, then select record the meeting on the local computer settings.
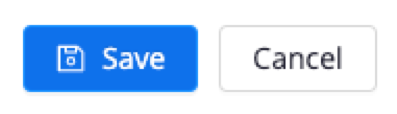
Click save to finish setting up your meeting/recording.
Begin Recording
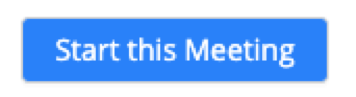
When you’re ready to begin recording your lecture, select the start your meeting button to begin.
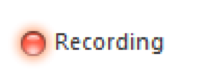
Hosts will see the following recording indicator in the top-left corner while recording is active.
After the meeting has ended, Zoom will convert the recording so you can access the files. Once the conversion process is complete, the folder containing the recording files will open.
Note: By default, the audio/video file (MP4) will be named Zoom_0.mp4. The audio only file (M4A) is named audio_only.m4a.
Best Practices
Contact Us for Canvas and Ed Tech Support:
![]() eberly-assist@andrew.cmu.edu
eberly-assist@andrew.cmu.edu
![]() 412-268-9090
412-268-9090