Course Tools
Blackboard provides many tools for instructors to configure and use with
students in a Blackboard course.
Blogs
Blogs are an open communications tool for students to share their thoughts.
Blogs can be made available for each student or for groups that you have
set up in your Blackboard course. Instructors are also able to participate
in posts to facilitate collaboration.
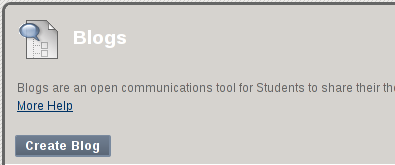
Create a Blog
Click on the "Create Blog" button, enter a name and instructions
(if desired) for the blog, select availability and settings, and click
"Submit".
Make a Blog available to students
Select "Yes" to make the blog immediately available to students.
And/or choose date and time restrictions to limit students access to the
blog.
Select Blog settings
The "Blog Settings" offer instructors some additional
functionality. Click "Monthly" or "Weekly" to select an
indexing method. Optionally, one or both of the checkboxes if you want
students to be able to "Edit" and/or "Delete" blog
entries and comments.
Open, edit, or delete a Blog
Instructors can open, edit, and delete blogs they have set up by accessing
the contextual menu located next to the blog title. Click on the down arrow
icon to expose and choose to "Open," "Edit," or
"Delete" a blog.
Collaboration tools offer instructors and students the ability to
participate in real-time course discussions via the Internet. There are two
types of collaboration tools available: "Virtual Classroom" and
"Chat." The "Virtual Classroom" enables instructors and
students to browse the web, participate in question-and-answer sessions, as
well as chats. "Chat," on the other hand, provides the singular
functionality of a chat tool.
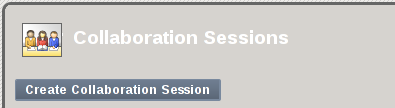
Create a Collaboration Session
Click on the "Create Collaboration Session" button. Enter the
required information and then click "Submit".
Edit or delete a Collaboration Session
Click the down arrow icon located next to the name of the Collaboration
Session you would like to change. Then choose either "Edit" or
"Delete".
Search a Collaboration Session
Select a search criterion from the "Search by" dropdown menu.
Users may search by "Session Name," "Start Date," or
"End Date." If desired, you can also choose to filter your search
returns by session type using the "Filter" dropdown menu. Click
"Go". The Collaboration session search returns will be listed
according to the search criteria you selected.
Using "Contacts", instructors are able to post information about
themselves, teaching assistants, and guest speakers. Students can then use
this to look up names, email addresses, office hours, and photographs of
course instructors. There is also an option to create folders to organize
multiple contacts by, for example, Instructors, TAs, Guest Speakers.
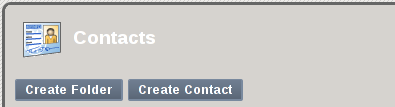
Add a Contact
-
Begin the Contact creation process: To begin, create a new
"Contact" by clicking the "Create Contact" button
located from the "Contacts" page within your Blackboard course.
-
Enter Contact information: Next, enter the required field
"Email" information and any additional optional profile
information you wish to include (e.g. title, first name, last name,
work phone, office location, office hours, and notes. Optionally you
may provide the individual's availability settings, a picture, and/or a
personal link.
-
Complete the Contact creation process: Click the
"Submit" button to complete the contact creation process.
Edit or Delete
You can "Edit" or "Delete" a "Contact" by
using the contextual menu located next to the contact's name. Click on
the down arrow icon located next to the "Contact" you would like
to modify and then select "Edit" or "Delete" from the
dropdown menu.
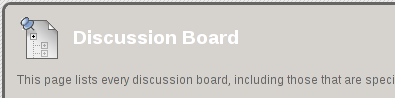
Add a Discussion Board
Create a link for a Discussion Board either in a content area or in the
course menu or navigate to the Tools area and create a forum directly in
the Discussion Board tool.
Instructors can provide students with a "Glossary" of
discipline-specific terms for use in the course. Terms displayed in the
"Glossary" are categorized and listed alphabetically.
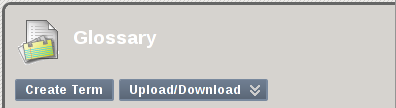
Add a Glossary Term — Web Interface
To create a new term from web page, click on the "Create Term"
button located in the "Glossary" tool page of your course. In the
Create Term page, input the term and its definition. Click
"Submit" to save the glossary entry.
Add a Glossary Term — Excel Spreadsheet Upload
Glossary terms can be managed offline using the import and export
functionality of the "Glossary" tool. Click the
"Upload/Download" contextual menu located at top of the Glossary
page to perform this action.
-
Download all the terms in the Glossary to an Excel file format.
-
Add and edit Glossary terms in your downloaded Excel file.
-
Upload the revised Excel file and select options for how Blackboard
should reconcile the content differences (between the existing content
in Blackboard and the revised content in the Excel spreadsheet) by
either choosing to append the content or by choosing to replace the
content. Blackboard will revise the Glossary according to your selection
of the processing method for the uploaded file.
A journal is a self-reflective tool for students. Only the student and the
Instructor are able to comment on journal entries. From the
"Journal" index page, instructors are able to open and monitor
the status of all journals by clicking on the journal title.
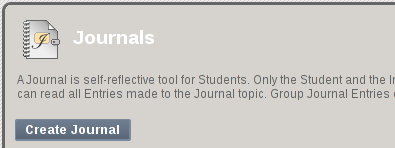
Create a Journal
From within the "Journal" tool in your Blackboard course, click
the "Create Journal" button to create a new journal. Enter
required information and select from "Journal Settings". Click
"Submit" to complete the creation process.
View Students' Journal Entries
Click on the journal name to launch the list of students with journals
under that title, then click on a particular student's name to launch that
student's journal entries.
Post an Instructor Entry in a Student's Journal
Instructors may post their own journal entries. Note: If a journal is set
to "Private", the instructor and individual student to whom the
journal belongs are the only users in the course who have access to that
particular student's journal and both can create journal entries.
Messages are private and secure text-based communications that occur
between users associated with a particular Blackboard course.
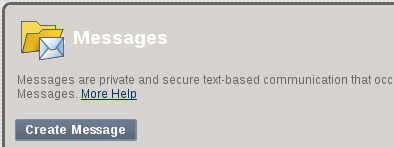
Create and Send a Message
To create a new message, click on the "Create Message" button. On
the "Compose Message" page, select recipients, enter a subject
line and message text. Click "Submit" to send the message.
See Sent Messages
To look at message(s) that you have sent to others, click on the
"Sent" link.
Check Incoming Messages
To check message(s) others have sent to you, click on the "Inbox"
link.
Generally speaking, rubrics help instructors to communicate to students the
metric on which their work will be evaluated and consequently rubrics help
students to better understand where to focus their time, attention, and
effort. The rubric tool in Blackboard organizes evaluation criteria for an
assignment into a grid of columns and rows. The rows correspond to the
various criteria for an assignment. The columns correspond to the level of
achievement for each criterion. A description and point value for each cell
in the rubric define the evaluation and score of an assignment.
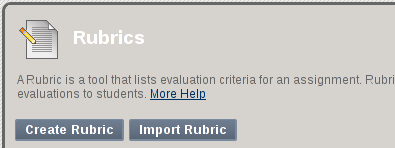
Create a Rubric
-
Navigate to the "Rubrics" tool page and click on the
"Create Rubric" button.
-
Enter a name and description for your rubric.
-
Add the details to your rubric with the help of contextual menus
positioned in the column and row heading cells.
-
Click "Submit" to complete the rubric creation process.
Edit the Rubric
You can edit headings as well as remove columns and rows.
-
Edit a Heading: Click on the down arrow icon positioned next to
the heading you wish to change. Select "Edit" to change the
name of the item.
-
Delete a Column: Click on "Delete this column".
-
Delete a Row: Click a checkbox next to the row you wish to
remove and then click the "Delete" button.
The "Self and Peer Assessment" tool is intended for students to
evaluate themselves and/or their peers within a Blackboard course.
Instructors first create an assessment and then manage the Self and Peer
Assessment using the interface this tool provides.
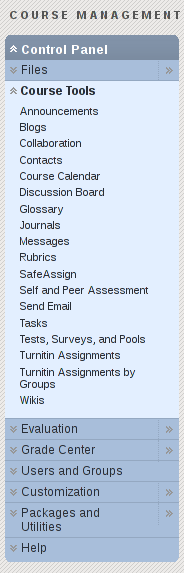
You can find the "Self and Peer Assessment" tool by expanding the
"Control Panel" and the "Course Tools" menu. All
previously created self and peer assessments will be listed.
To view a "Self and Peer Assessment," click on the down arrows
icon positioned next to a particular assessment heading listed in the first
column. In the drop-down options, select the action to view details of this
assessment.
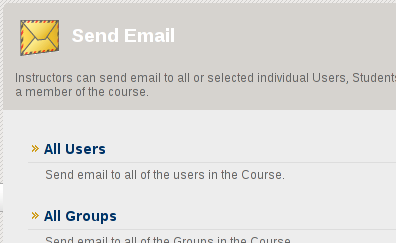
Instructors and students can send email to all or any users listed in the
Blackboard course roster. The "Send Email" tool is listed under
"Course Tools" in the "Control Panel."
-
Select recipients of the message: Once you are within the
"Send Email" tool area, choose the recipients for you email
using the left and right selection boxes. With one click you can select
all names by using the "Select All" button. Click on the names
to select one or multiple names in the list. Then use the arrow buttons
situated between the two selection boxes to move the intended recipients
from the left to the right "Selected Items" box.
-
Enter message information: Enter your subject line, message
text, and attach files if needed.
-
Send email: Click the "Submit" button to send out the
email.
Note: Emails will be sent to the recipients' Andrew email
account(s).
Using the "Tasks" tool, instructors can set up course tasks and
monitor students' progress on tasks.
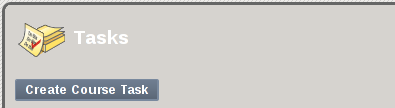
Add a Task
To add a task, click the "Create Course Task" button. Fill in the
name, description, and set up the Due Date and Priority of the task.
Delete a Task
To delete task, select the checkbox next to the task you want to delete,
then click the "Delete" button.
View Students' Status
View students' status on "Tasks" by clicking on the task title
link. Note: You can sort the tasks listing by clicking on the column
headings.
See instructions for how to create tests in Blackboard
A Wiki is a collaboration tool that students can use to contribute and
modify content.

Create a Wiki
-
Create a new Wiki: Click the "Create Wiki" button,
then enter a wiki name and instructions for students (if desired).
-
Make the Wiki available to students: To make the Wiki available
to students, you will need to specify the "Wiki Date and Time
Restrictions" options. Select "Yes" to make it
immediately available and/or specify the dates during which you want the
Wiki to be available to students.
-
Set participation and grading preferences: Instructors can
allow students to edit Wiki entries or not, and can make a Wiki a
graded item or not depending on the settings the instructor chooses
for these options.
-
Complete the creation process: Click "Submit" to
complete the Wiki creation process. Once created, the Wiki will be
displayed in the Rubric page. Note: After a Wiki is created, you MUST
create at least one Wiki page before the Wiki can be used.
Populate Wiki Content
To create a Wiki page, first click on the title of a Wiki you have already
created. Then, click the "Create Wiki Page" button. Next, enter
a name/title for the page and optionally enter content you want to add to
the page. Then click "Submit" to complete the new wiki page
creation process.
Add or Edit Comments on a Wiki Page
From within a Wiki page that you have already created, click either the
"Edit Wiki Content" button or the "Comment" button.
The page will become editable and content can be added and/or edited.
Open a Wiki, Edit Wiki Properties, or Delete a Wiki
To open, edit properties, or delete a Wiki, use the contextual menu located
next to a Wiki title link. Click the down arrow icon to expose the dropdown
menu options and select the action you would like to perform (Open, Edit
Properties, or Delete).
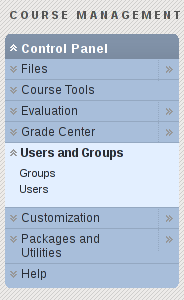
Set Up Groups
Instructors are able to set up groups in Blackboard to support
collaboration. Depending on your preferences, users can be enrolled in
groups manually, randomly, or through self-enrollment.
Create a Group
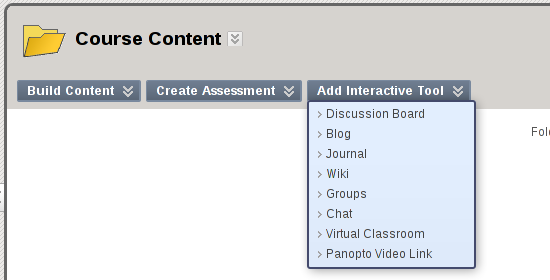
Instructors can create Group pages for a single group or for a group set
and can then link to group pages from within course content pages. From a
content area in the course, click on the "Add Interactive Tool"
button and select "Groups." (Alternatively, you can follow a
similar creation process by navigating to the "Control Panel,
selecting "Users and Groups," and then selecting
"Groups.")
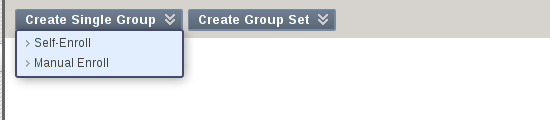
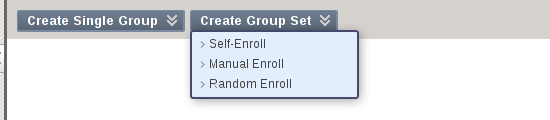
-
Click on the "Create Single Group button or "Create Group
Set", and select either "Self-Enroll" or "Manual
Enroll".
-
Self-Enroll allows students to join the Group themselves
by adding their name to a sign-up sheet. Sign-up sheets can be made
available on the Groups page, and can limit the number of people
allowed to join the Group. Self-Enrollment Groups can be made one
at a time, or made in sets.
-
Manual Enroll allows the instructor to assign students
to groups.
-
Random Enroll distributes students into Groups randomly
and based on the desired number of students per group, or the
desired number of Groups. For example, if there are 24 students
enrolled in a Course, and the Instructor wants four students per
group, the system would create six Groups. If the Instructor wanted
four groups, the system would randomly enroll six students per Group.
-
Choose to make the group unavailable, available or sign-up sheet only.
-
Instructors may click "No" for the group to be unavailable
in case the instructor needs to finish with the options before the
students can see it.
-
Clicking "Yes" will put up a sign-up sheet and students
will be enrolled when they sign up.
-
Selecting "Sign-up Sheet Only" will create a sign-up sheet
and the instructor will need to approve the groups before the
students are actually enrolled.
-
Click "Submit" to create group.
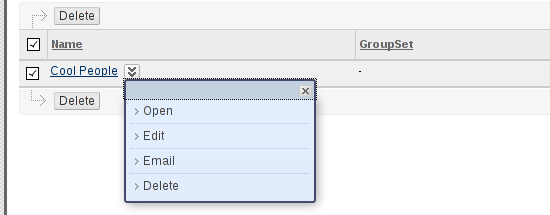
Edit or Delete a Group
Click on the down arrows next to the name of a group and then click on
"Edit" or "Delete."
View Group Pages
Once groups are created for users in a course, instructors can access the
group pages for every group in the course and students can access the group
pages for the groups they are in.
-
Go to the Control Panel, Users and Groups, and then select Groups.
-
Click on the Group Name to view the group page. Instructors are able to
add course modules, add group modules, email group members, edit group
tools and assignments.
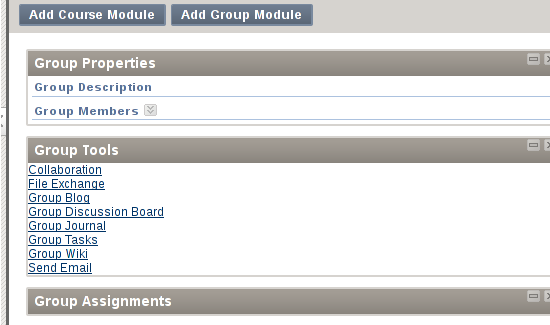
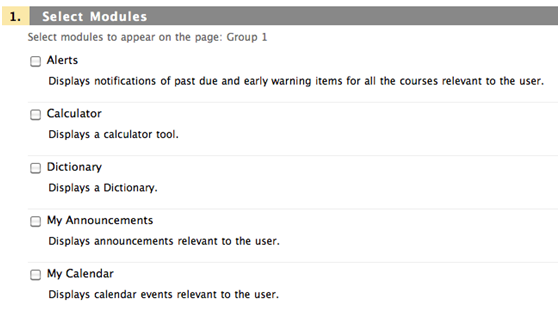
Add Course Modules
Click on the "Add Course Module" button. Select the modules to
appear on the group page, and click "Submit".
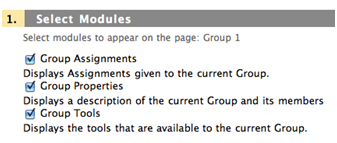
Add Group Modules
Click on the "Add Group Module" button, select modules to appear
on the group page, and click "Submit".
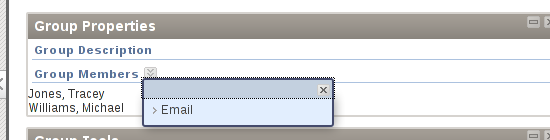
Email Group Members
Click on the down arrows next to the Group Members, choose
"Email", then type the email message and click
"Submit".